
BY DIMITRI VANDEPOELE
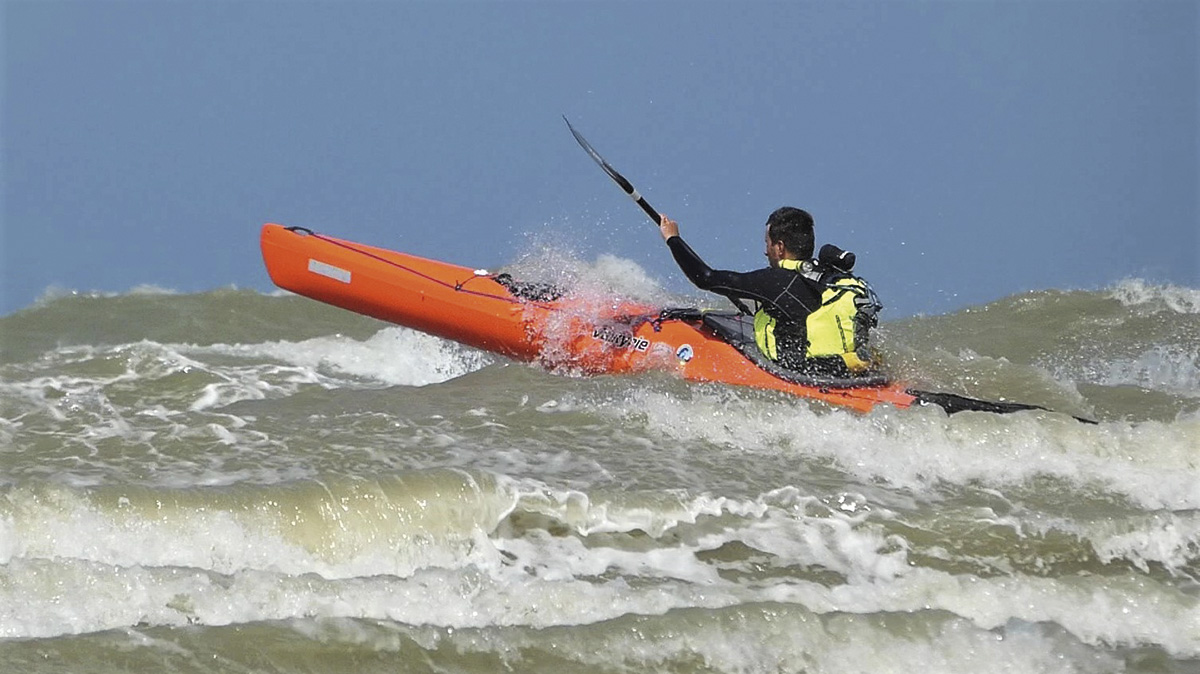
NORTHSEAKAYAK

In this series, we will share the first-hand experience, my NORTHSEAKAYAK team, and I gained while training together with the Coast Guard, search and rescue assets and other vessels that may come to aid when the need arises.
Dimitri’s rescue training series (part 1)
Before starting, it is of the utmost importance that every sea kayaker trains and prepares to avoid getting into trouble in the first place and learn to paddle self-reliant, responsible, and safe. How well prepared we are, things can get ugly, and therefore we need to know what to do when we cannot solve a problem ourselves. This is what the series goes about; things are going south, and this is what we can do when we need external help. Each article in this series will highlight a specific rescue together with some top tips!
Remember, reading an article does not replace proper training.
Mayday-mayday-mayday!
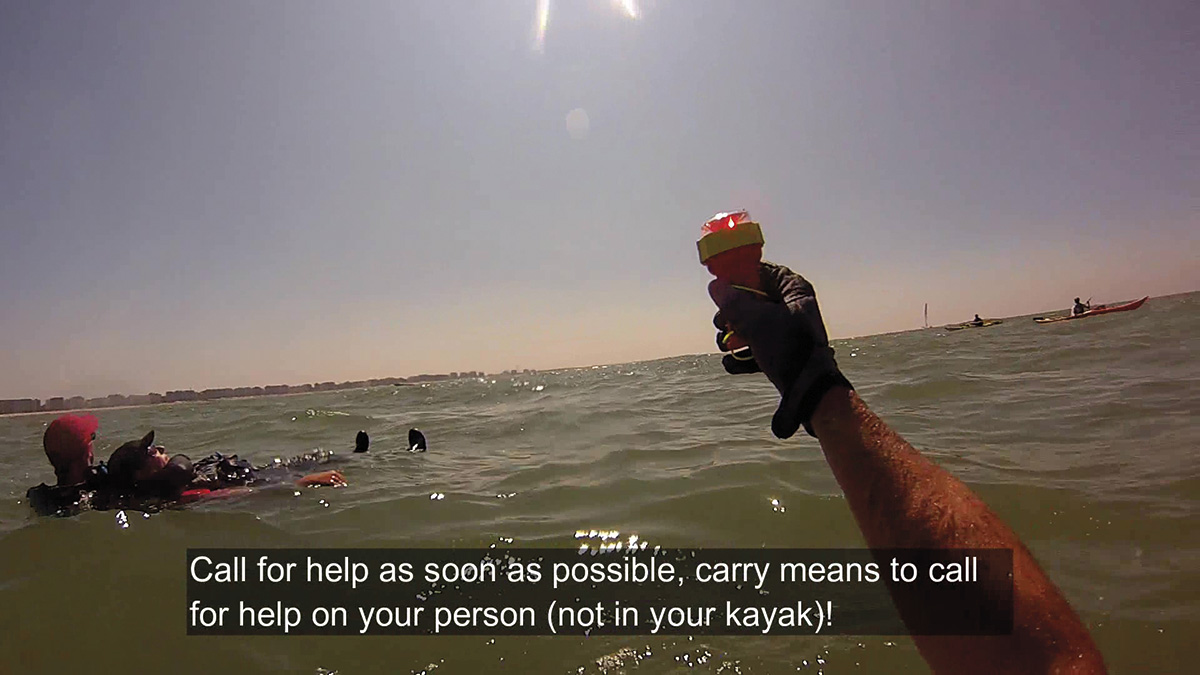
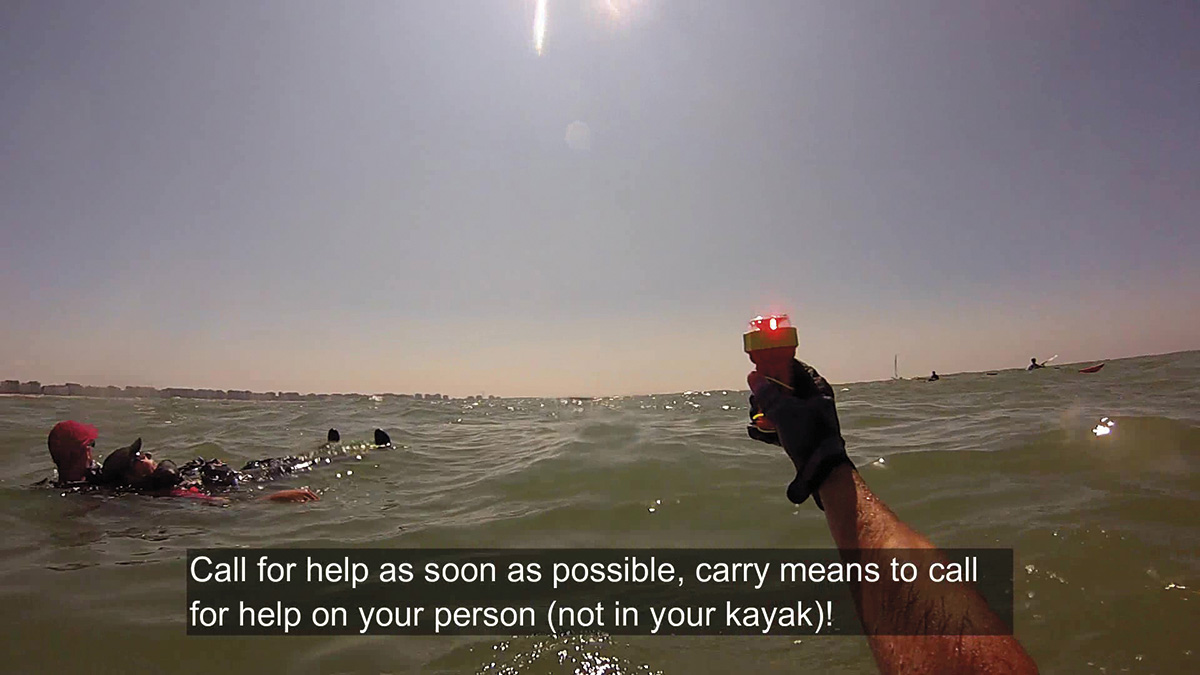
When out on open water, together with a group (but I prefer a team, there’s a significant difference) or alone, make sure you always carry a means to call for help! This is probably the thing we hear most from professional rescuers we trained together with. Our advice is even more to the point; carry it on your person, not in your kayak. We get a lot of questions from other paddlers asking us what we prefer. Let’s highlight some of the best pieces of equipment for the job! We put them in order of which we activate first in case of emergency.
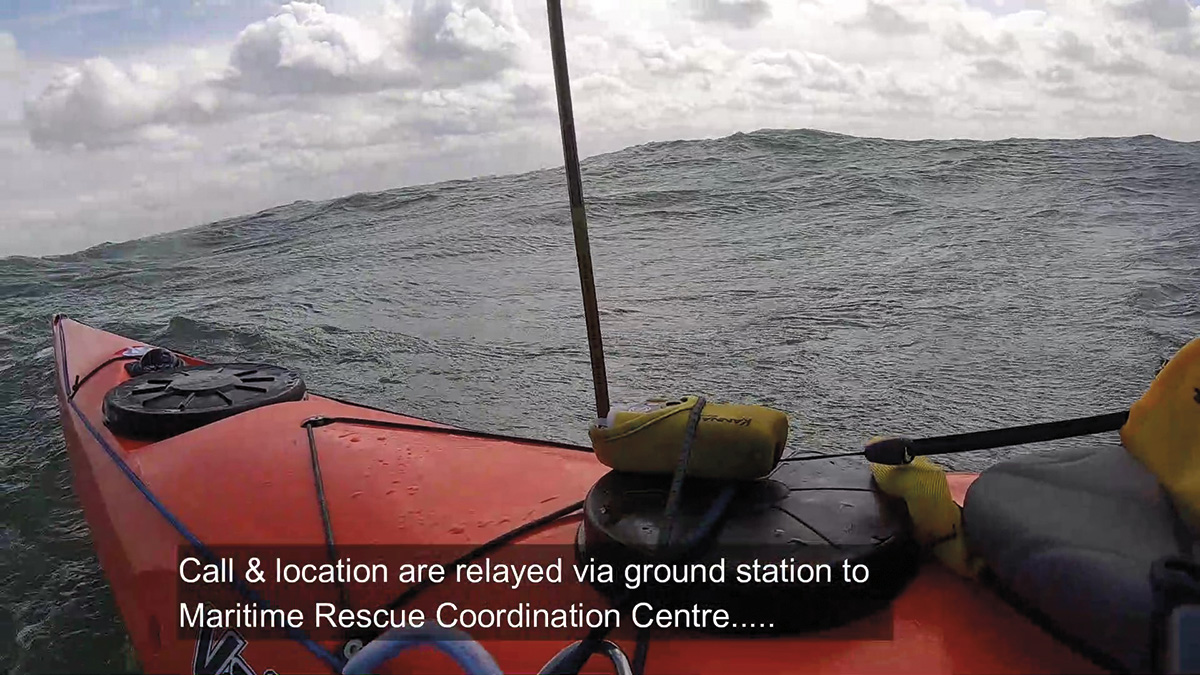
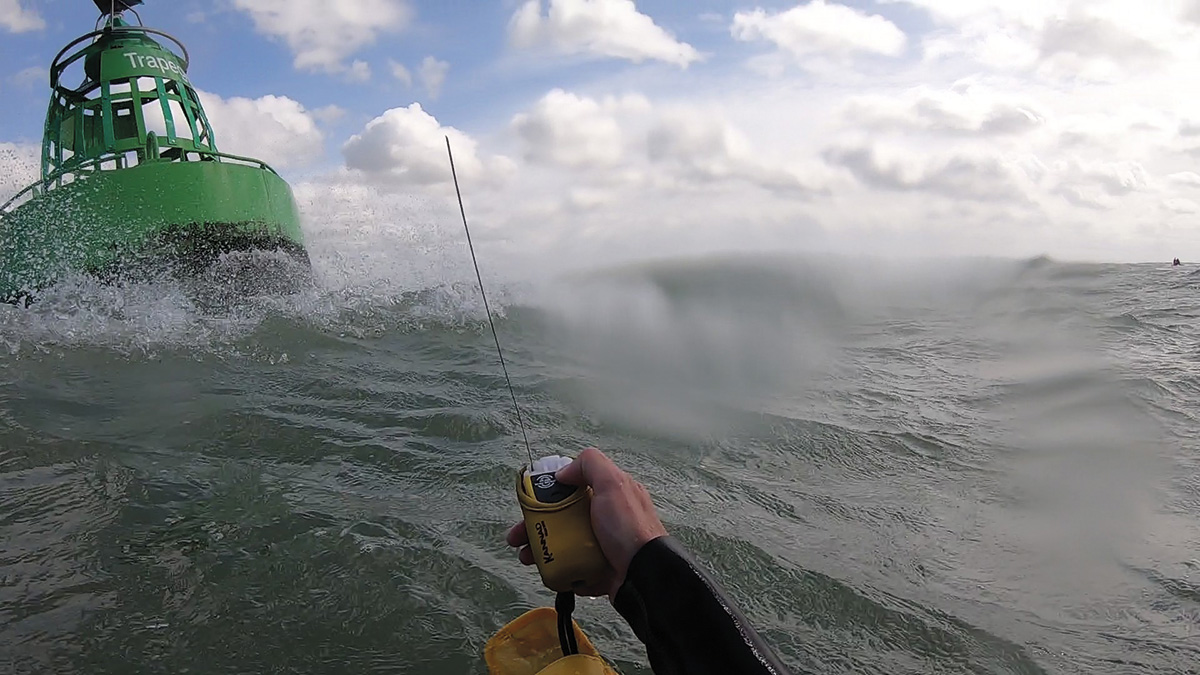
Personal Locator Beacon (PLB)
This is a small device the size of a cell phone, easy to put in your PFD. Its sole purpose is to make the distress call. We’re using the FastFind220. It’s waterproof, it can take a beating, and it will work if everything else fails. The battery lasts for six years. There is a test button so you can check if everything still works on a regular base. It also contains a GPS beacon. A PLB is easy to activate, even when you’re a bit in a panic. It will emit a 406Mhz signal to a network of satellites. These will pick up your distress signal, together with your current position (gained from the GPS beacon). All this information will flow through via a ground station to the nearest SAR service, in our case, primarily the Coast Guard. As long as the PLB remains active, your location will be updated (important when you’re drifting away with the current/wind). Until now, you did not get confirmation from Coast Guard when your signal was picked up. The new generation FastFind220 PLBs will have an extra blue light that will confirm that help is on the way (interesting item for a separate article).
Top tip: make sure your PLB is registered (free of charge) on the following website: www.406registration.com. That way, SAR services will know who they are dealing with. PLB can be used everywhere, so not only for sea kayaking and even in remote areas. The FastFind220 also has a homing beacon built-in, perfect for SAR services when closing in on your position.


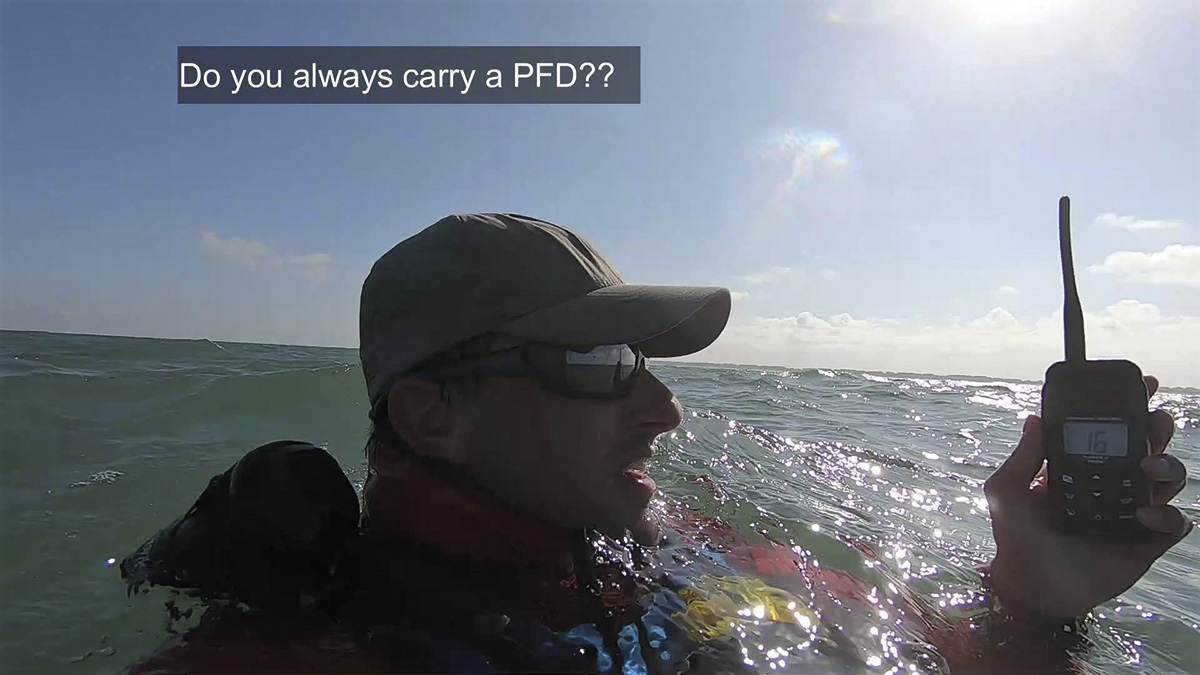
VHF radio
A wee bigger than most cell phones but also fits in the pockets of your PFD. We are using the Standard Horizon HX300 VHF. This one floats, emits a red light when dropped overboard (we already wrote a full review in a previous issue of the Paddler) and is fully waterproof. When calling for help, you will reach every other station (on the same channel, which should be 16) in your radius. If it is the Coast Guard; perfect! If it’s another vessel, they can come over to help you awaiting the SAR services and relay your message to the Coast Guard. It’s a two-way device, so you will know if and when help is on the way.
Top tip: make sure you are familiar with using this, follow proper training. In some countries, a certificate is mandatory after passing an exam. Same for registration; make sure to check this before use. A portable VHF has a limited range; check this before heading out in remote areas. Make sure the battery is fully charged. Do you know your location? Some rescue vessels and helicopters have a homing device onboard, making it easy to see where your signal is coming from (of course when broadcasting). That way, they can find you even easier and thus faster.
Cell/mobile phone
A cell phone can be fine if you put it in a waterproof pouch and operate it without removing that pouch. You will be able to make a call to only one contact at a time, and this should be the 112-emergency number! To consider, is there coverage everywhere you go? Do you know your exact location? Battery fully charged? This is a two-way device; you will know help is on the way. 112 developed an app, which gives your exact location to the emergency services when making the call via that app. Check if that is also the case in your country.
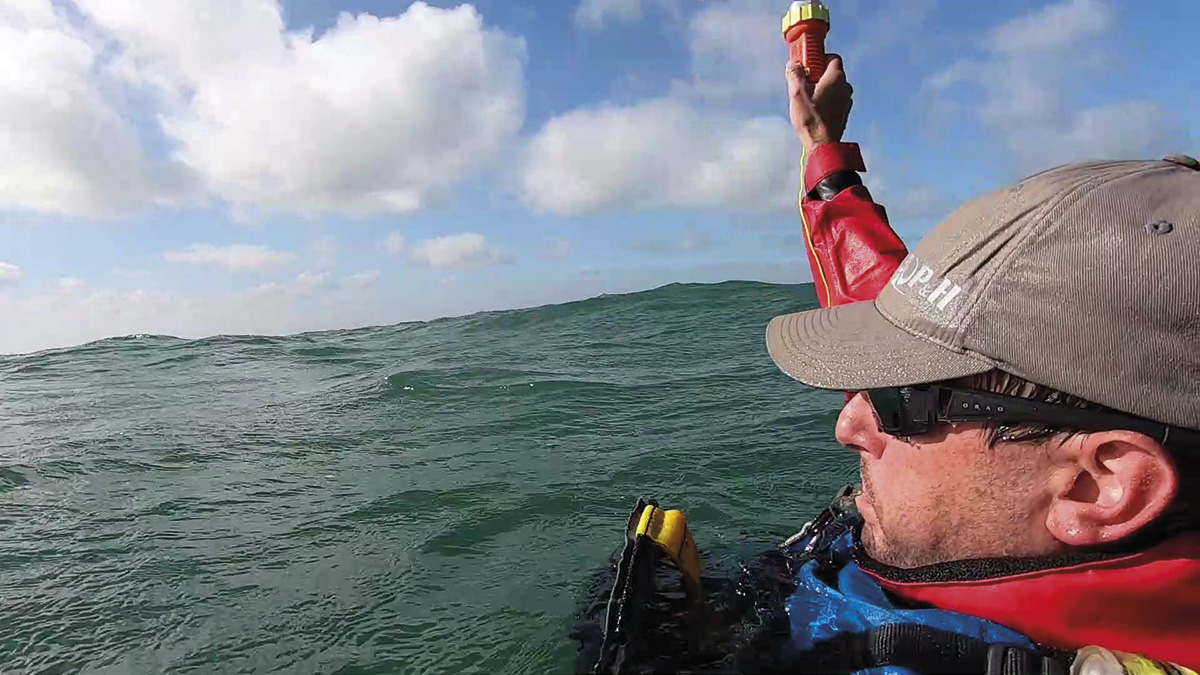
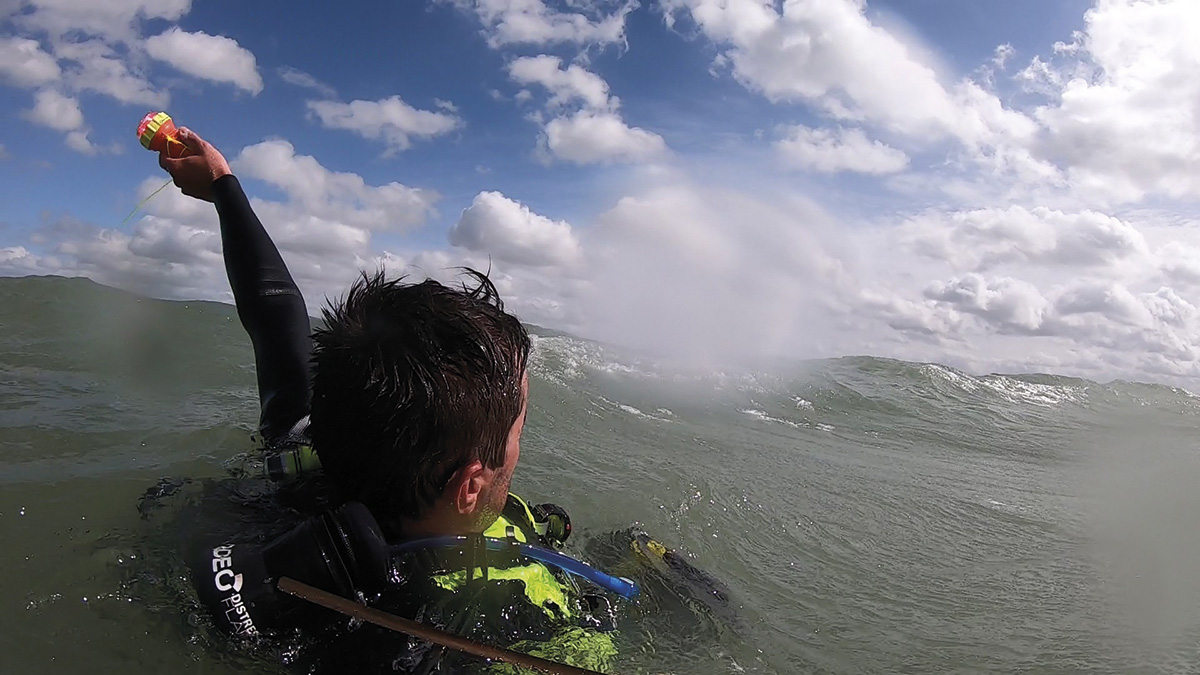
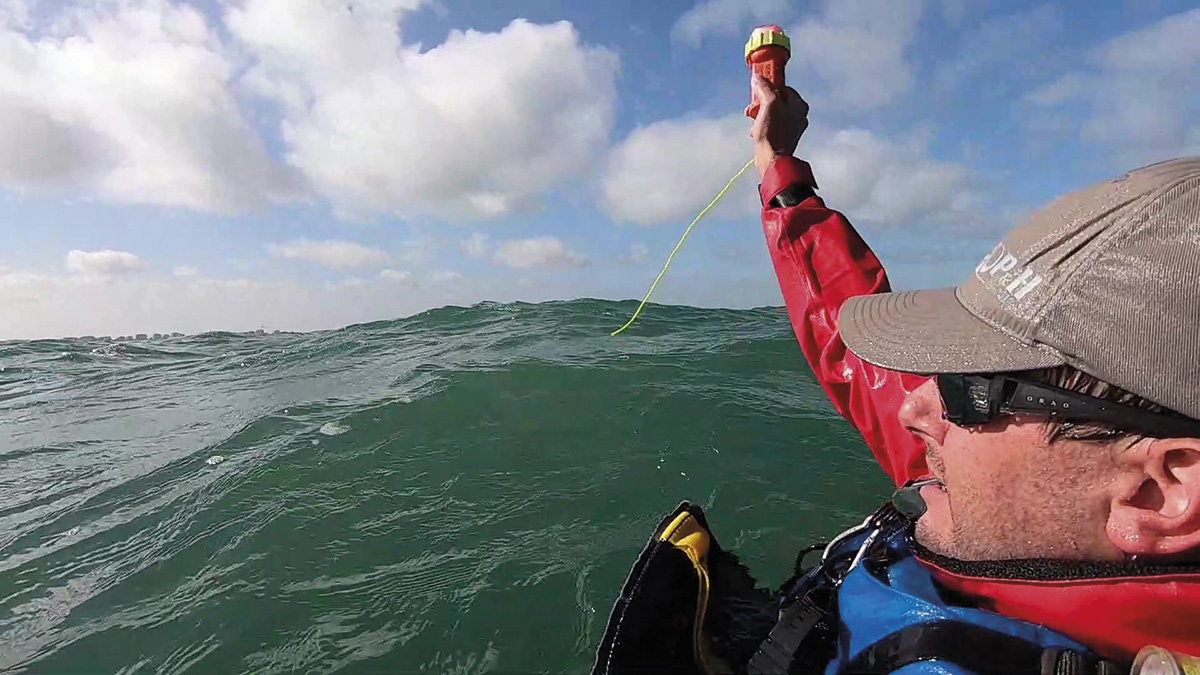
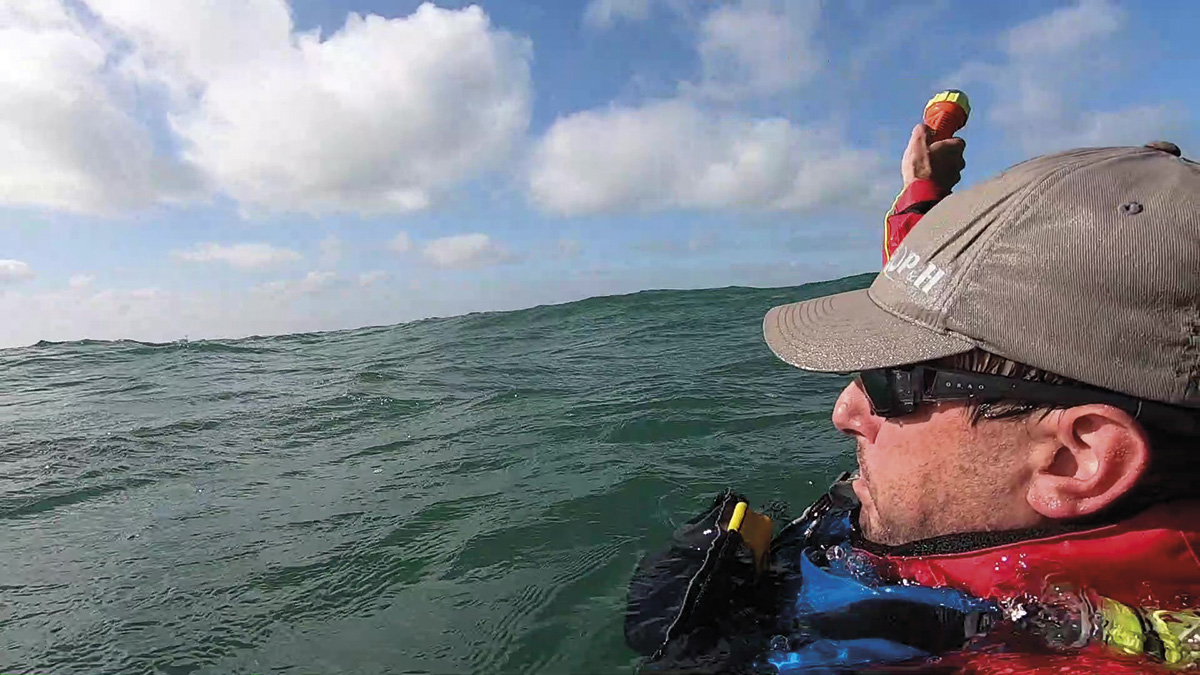
Pyrotechnics and electronic flares
Parachute/rocket flares are well visible, even during daylight. They are mostly too big to carry on your person. They are charged with explosives, and therefore you need to know what you are doing when firing one. Handheld flares are intended to attract attention when emergency services are already alerted via other means. A significant improvement is the electronic flares (like the ODEO Distress Flare we are carrying with us), harmless, and they can ‘burn’ for hours in a row.
Matters to consider:
- Will your rocket flare be seen by anyone (other boaters around your position, people on the beach?).
- Will it be seen in time; the flare only lasts about 60 seconds? Will other people recognise this as a distress signal?
- How many do you carry? A flare is a ‘one-way’ device. The chances are that you won’t know if anyone has seen your distress signal.
Other things to attract attention are beneficial but are not considered ‘means to call for help’. We use a whistle for inter-group rescues, for example. For all our onboard safety equipment, we refer to the video SEA KAYAK SAFETY EQUIPMENT: http://www.youtube.com/watch?v=8ooxwC6pu-I.
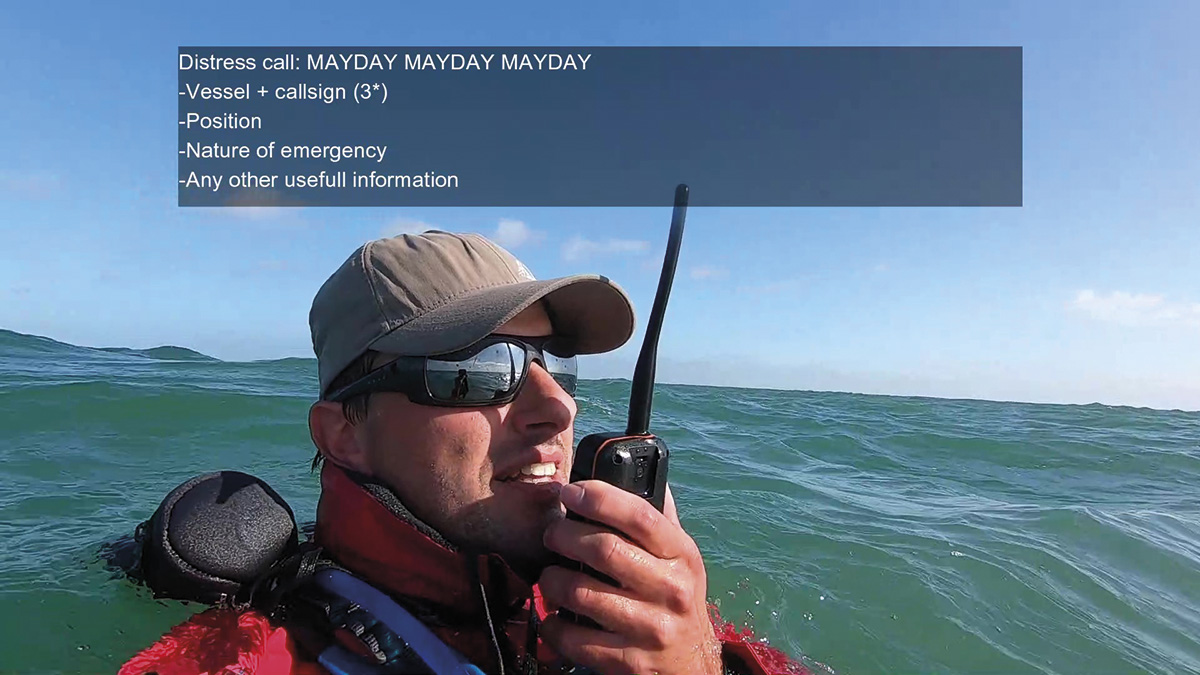
When doing your Mayday/distress call:
- Keep your communication loud, clear.
- Speak at a normal rate.
- Start by telling who you are (sea kayaker), your exact position, the nature of the incident and the number of team members.
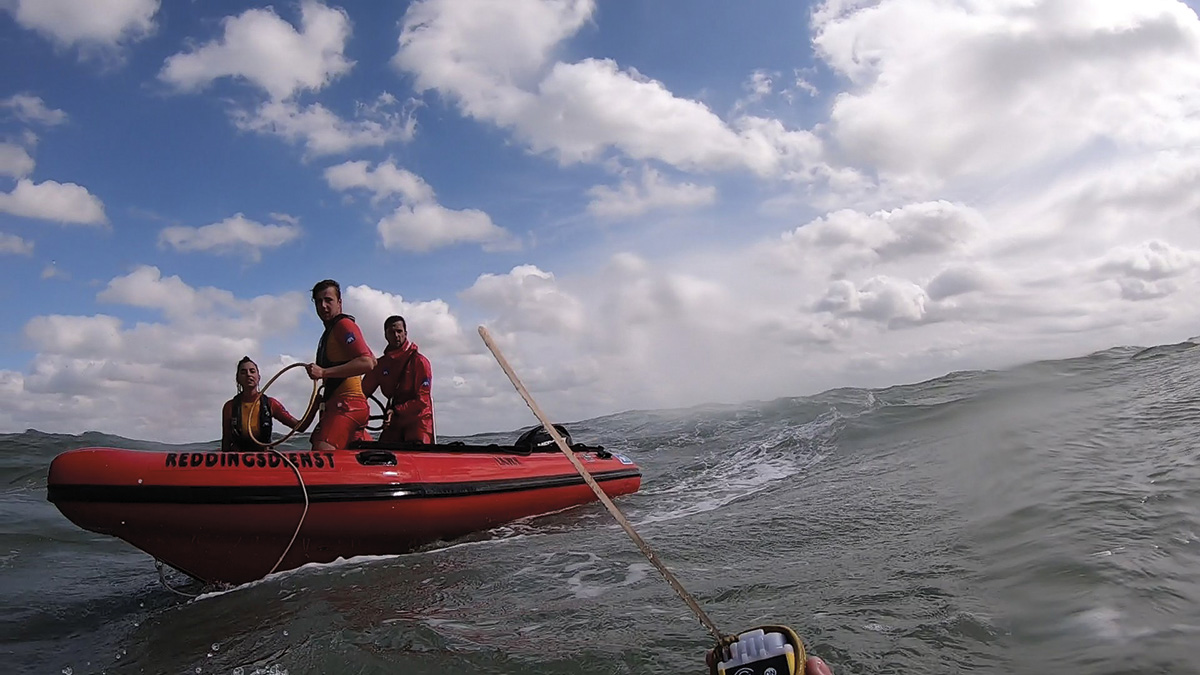
The Coastal Rescue Service
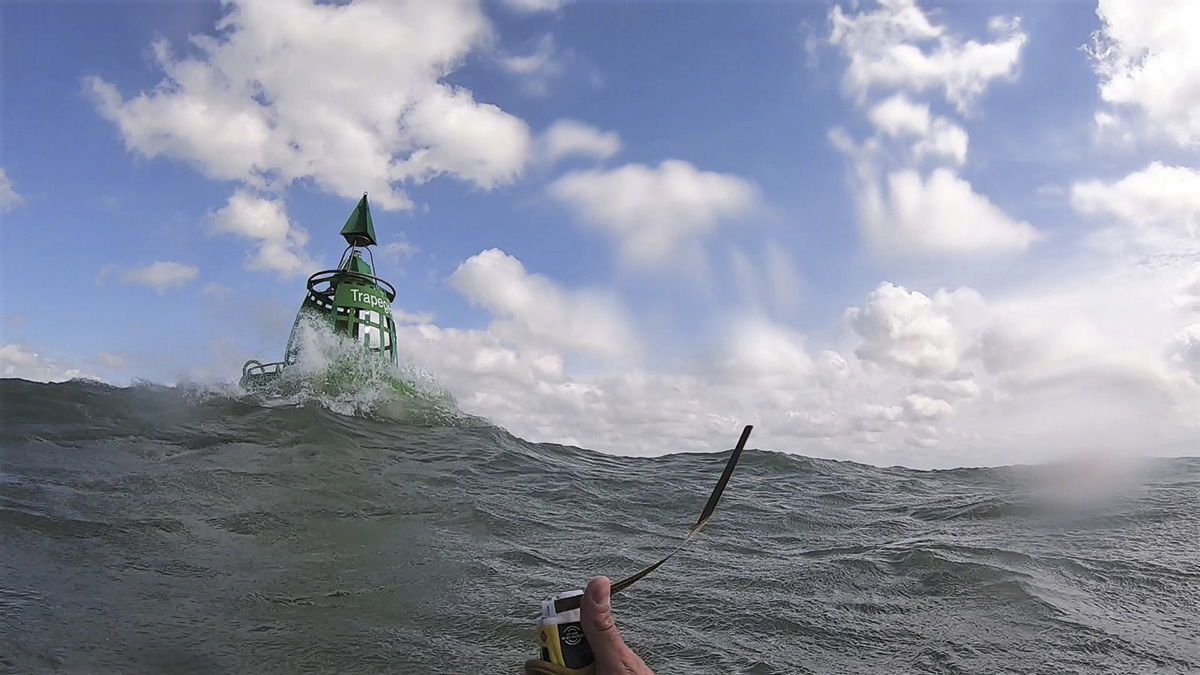
Let me introduce the IKWV (Intercommunale Kustreddingsdienst West-Vlaanderen)! This is a temporary rescue service that always operates during the summer period along the Belgian coast. They work only during the daytime to keep an eye on the safety of swimmers, tourists, and water users closer to shore. They are stationed on the beaches, patrolling both on foot and their small RHIBs (Rigid Hull Inflatable Boat), where every member has gone through thorough training and passed an exam for this. We have built an excellent bond with the chief lifesaver Vincent and his crew from rescue station De Panne during the years. We conduct at least once a year a proper rescue exercise, mostly even more. We learn from each other during those exercises, so it is a win-win situation.
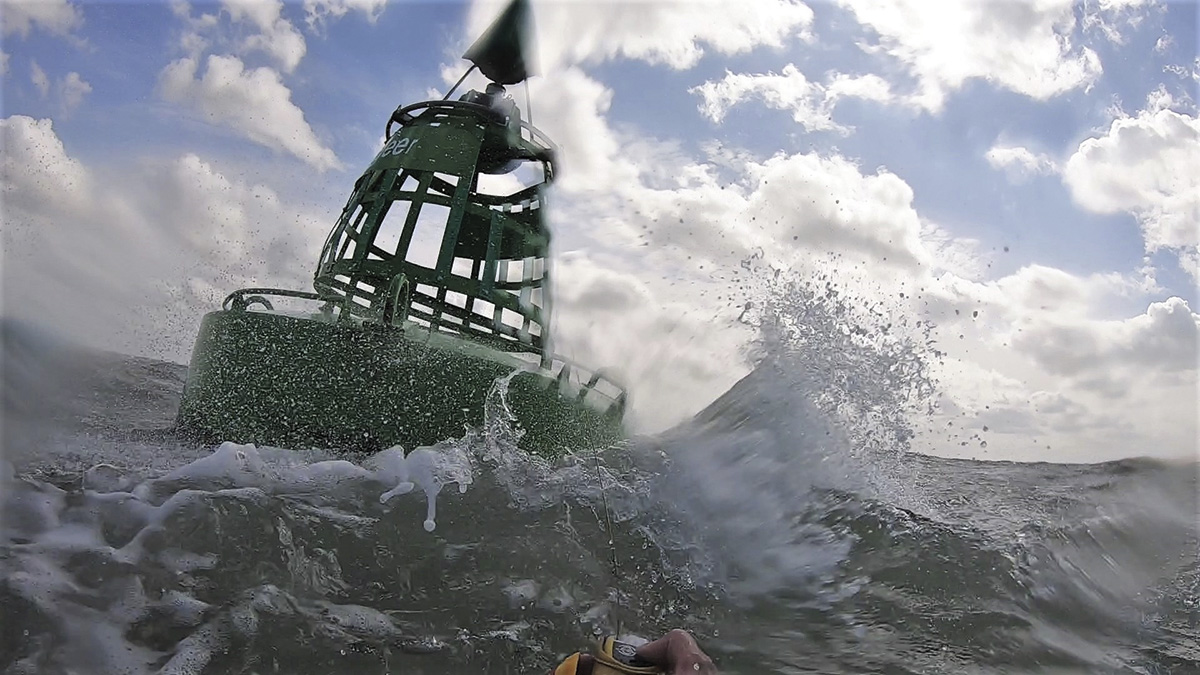
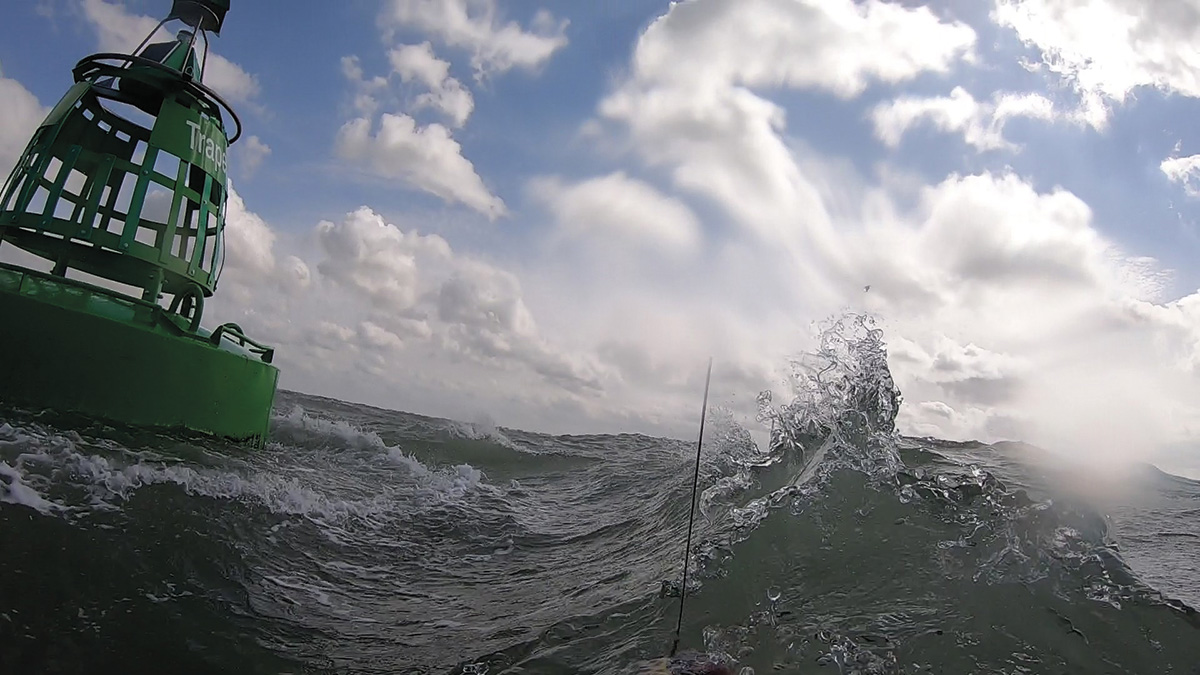
By now, we have conducted numerous exercises, and although they usually operate close to shore, they’re always eager to train with us between 1-3km offshore. The reason for this is that the scenarios we train are, for us, being sea kayakers, more realistic. Also, the feeling is completely different. Imagine losing contact with your kayak 3km offshore?
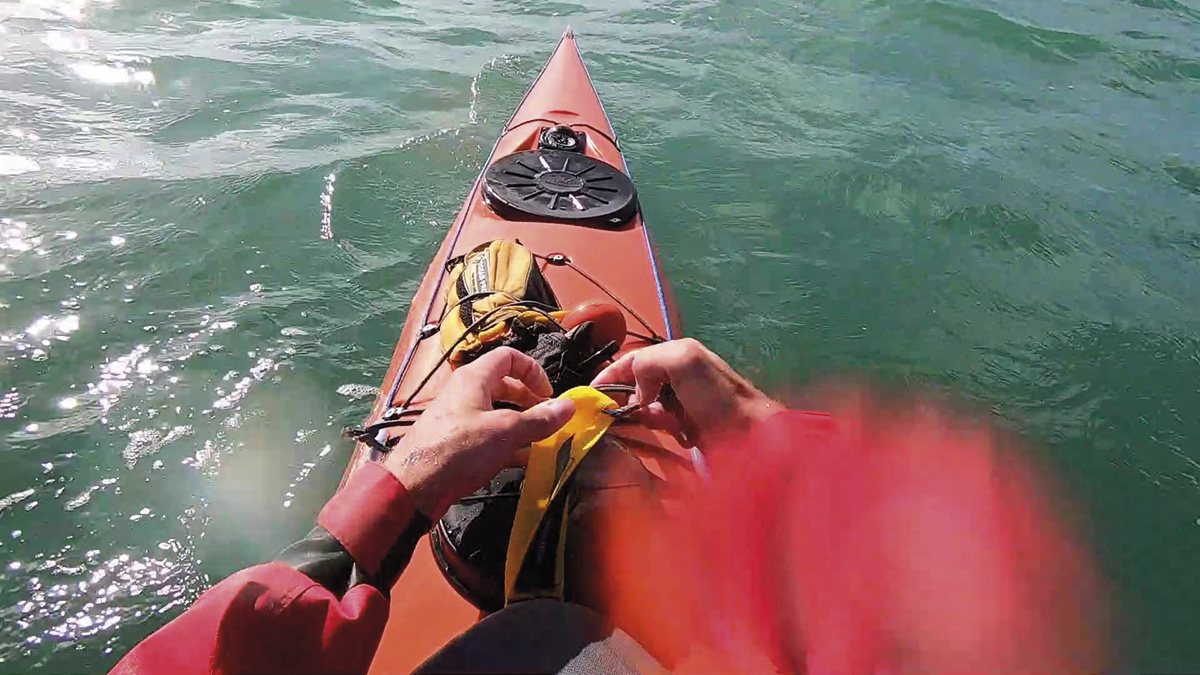
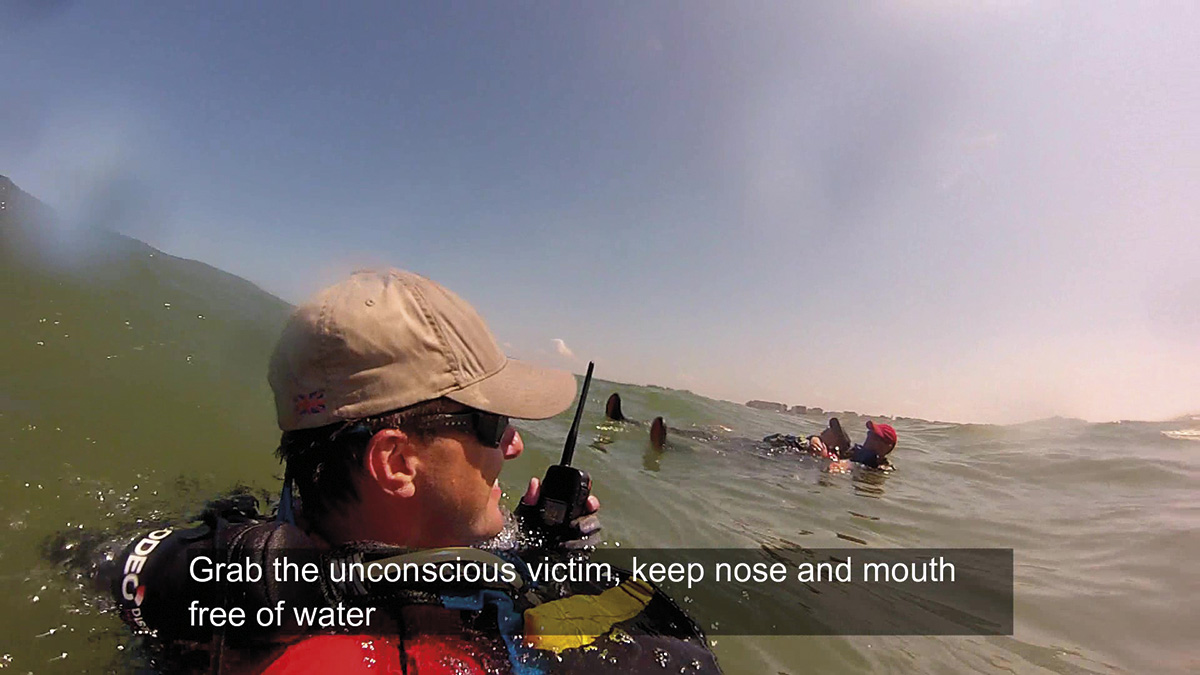
Awaiting arrival SAR service
Try to stay in or close to your kayak. If you are in a group, make a raft if possible. Make sure you have a 360° coverage; we always make sure that at least one kayak points in the opposite direction than the other kayaks in the raft. Be sure of your surroundings; are you in open water or near cliffs, rocks, or a busy shipping lane? Keep your PLB out of the water and operational. Keep an eye out for extra communication on the VHF. Point out one team member to perform this task so the others can keep a lookout and/or take care of the casualty.
When in the water after a capsize and loss of kayak (therefore, we are a real advocate of tethering yourself to it with a short tow line), team up and only swim towards your kayak if you are absolutely sure you can make it. We have tested this many times, and it is nearly impossible to swim after a kayak adrift in most cases. The swimmer is IN the water; the kayak lies ON the water. Therefore, the tidal stream affects the swimmer’s movement, where the kayak will be affected by wind and waves. Imagine that the tidal stream goes in the opposite direction of the wind! No chance you will get back to your craft.


So, lesson learnt, when in doubt, tether yourself. And this also counts for those who believe in so-called bomb-proof rolls! There is no such thing, as one can always become ill or injured, or circumstances can turn quickly against you without warning. But let’s stick to the story; you’ve just lost your kayak. Make sure tasks are given; one is checking the comms. Make sure the PLB is attached to you to avoid loss. Make sure to hold the PLB above the surface. No worries, if a wave hits the PLB, the signal will only be dampened briefly. Same for the VHF radio; keep it above the surface; otherwise, you cannot hear incoming messages. If you are alone, which we also trained, you will have to do all those things yourself.
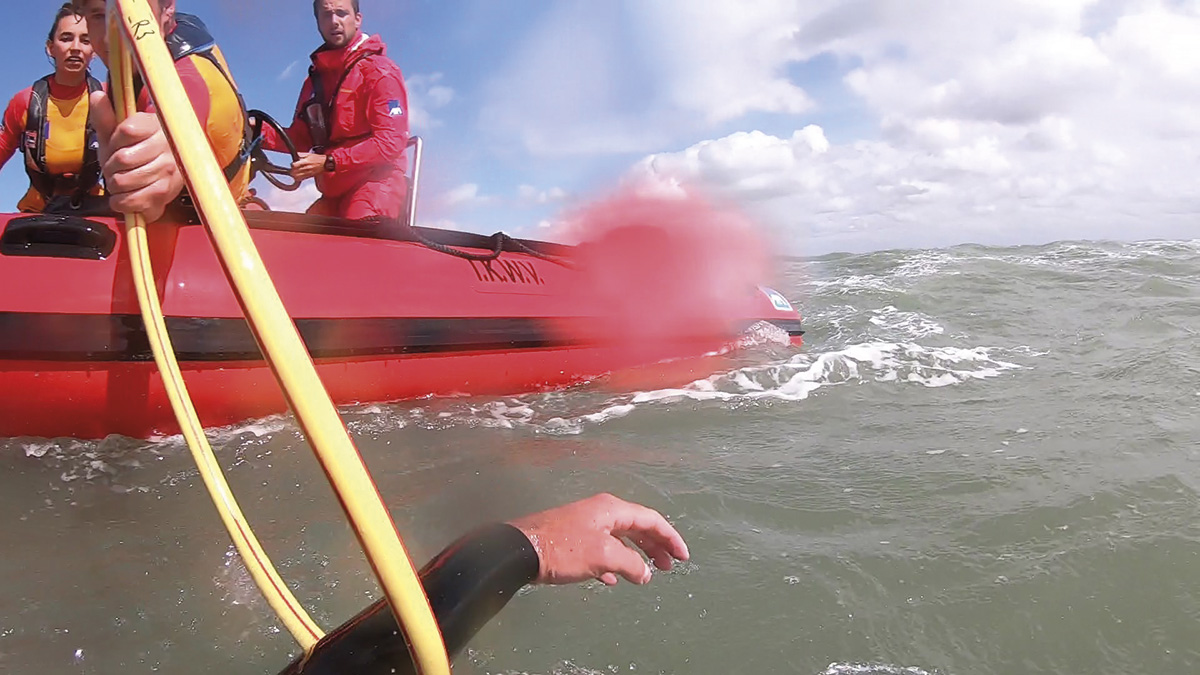
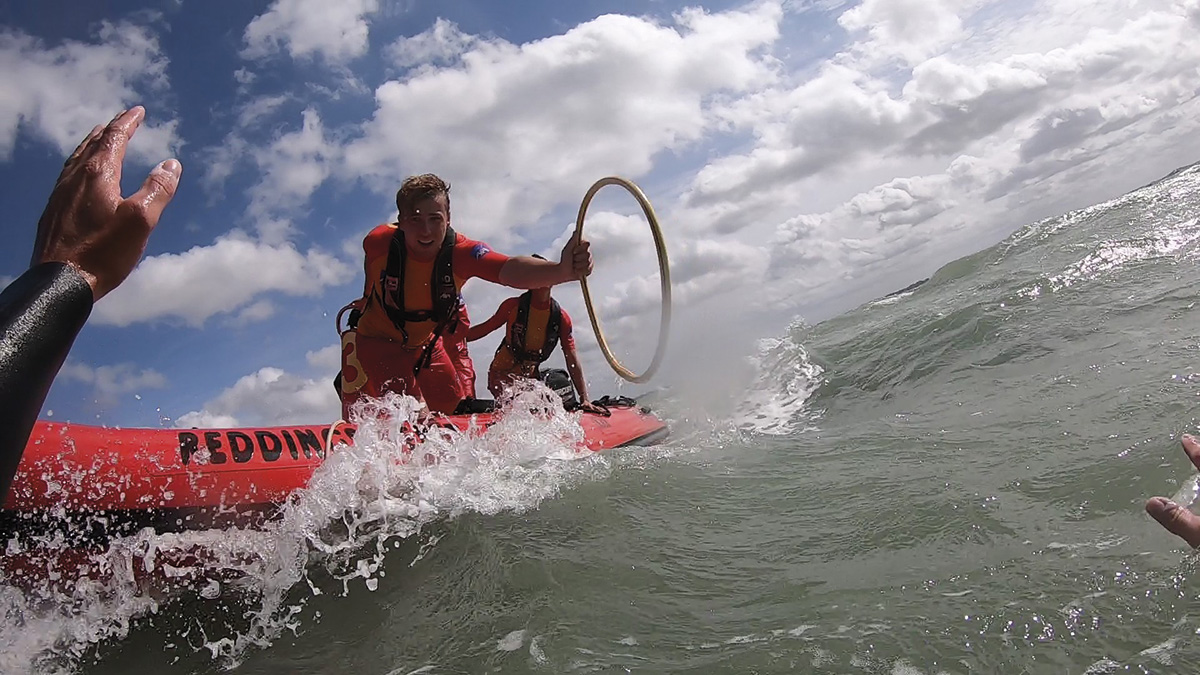
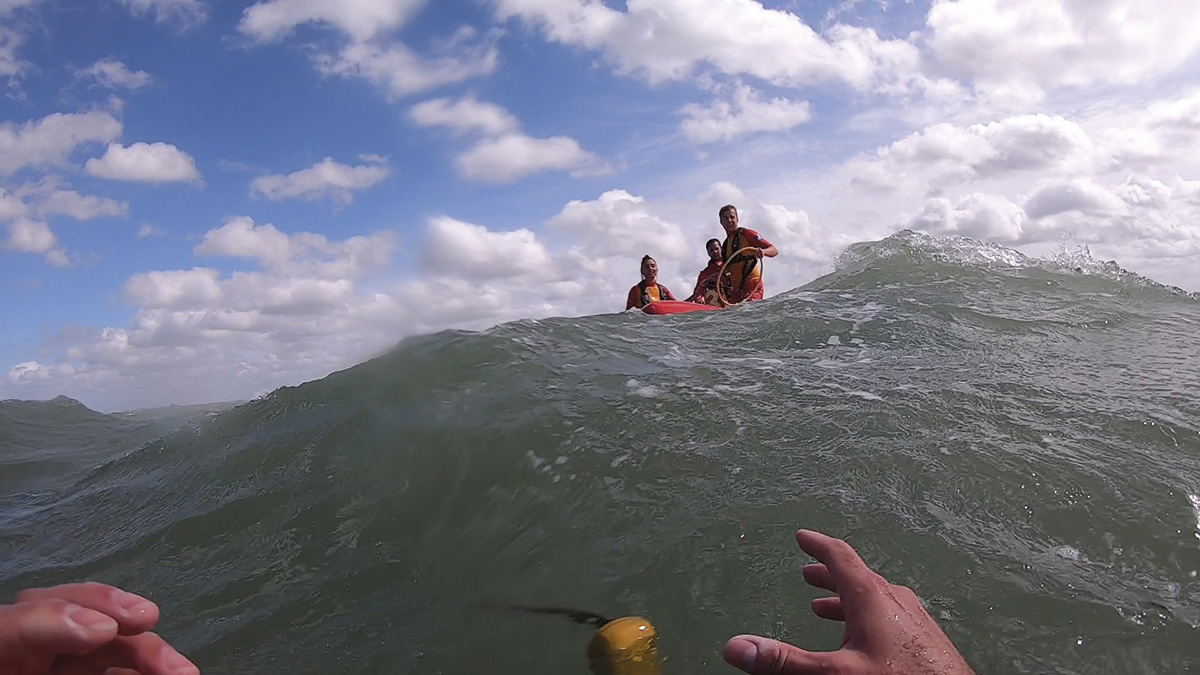
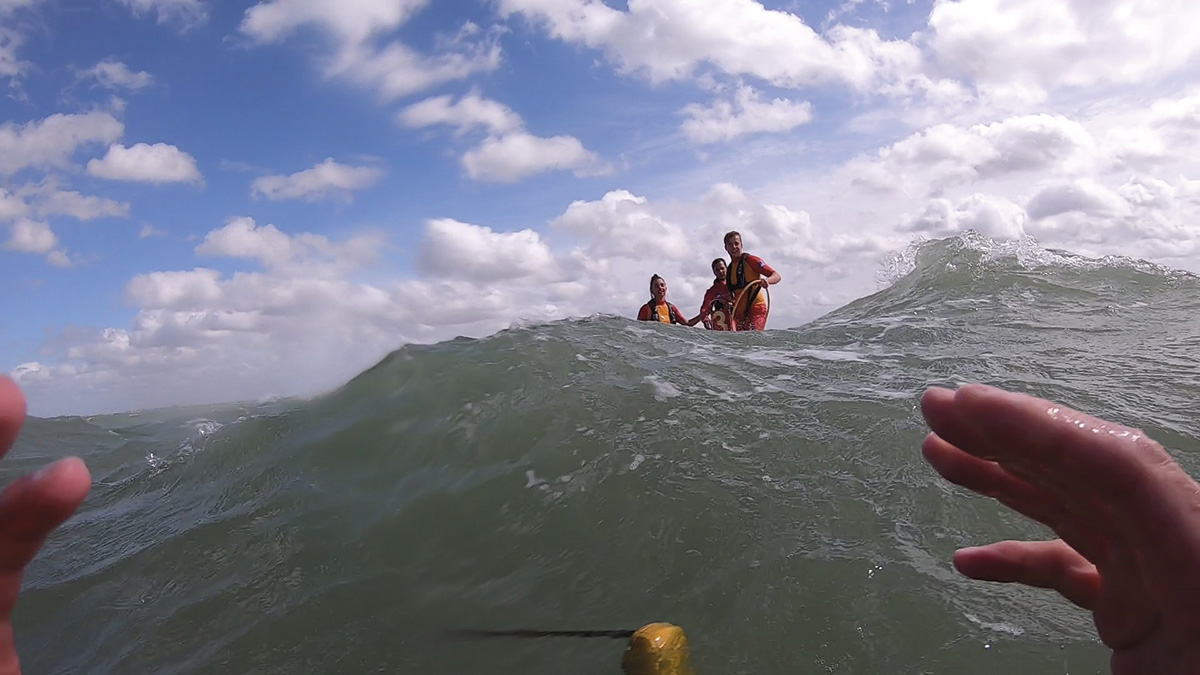
Of all the services we trained together with the RHIBs from the Coastal Rescue Service are the hardest to spot when they are closing in on your position. Therefore it is of the utmost importance to make noise and to make yourself as visible as possible. In every case, we were the first to spot the searching RHIB. A RHIB is low on the water and can hide behind waves. The advantage is that the crew can hear you, so use your whistle as soon as they are in your sights. We also used the ODEO electronic distress flare. On more than half the training exercises we did with them, it was the first thing that caught their eye. Those RHIBS are also highly manoeuvrable and operated by two crew members or more.
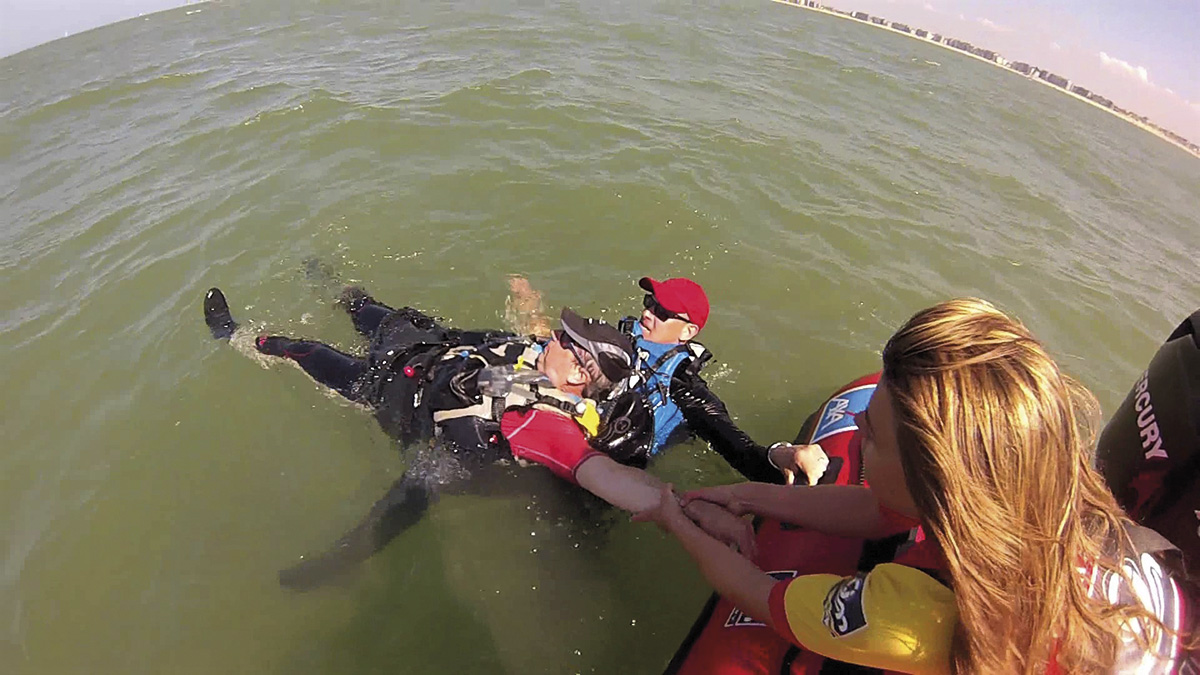
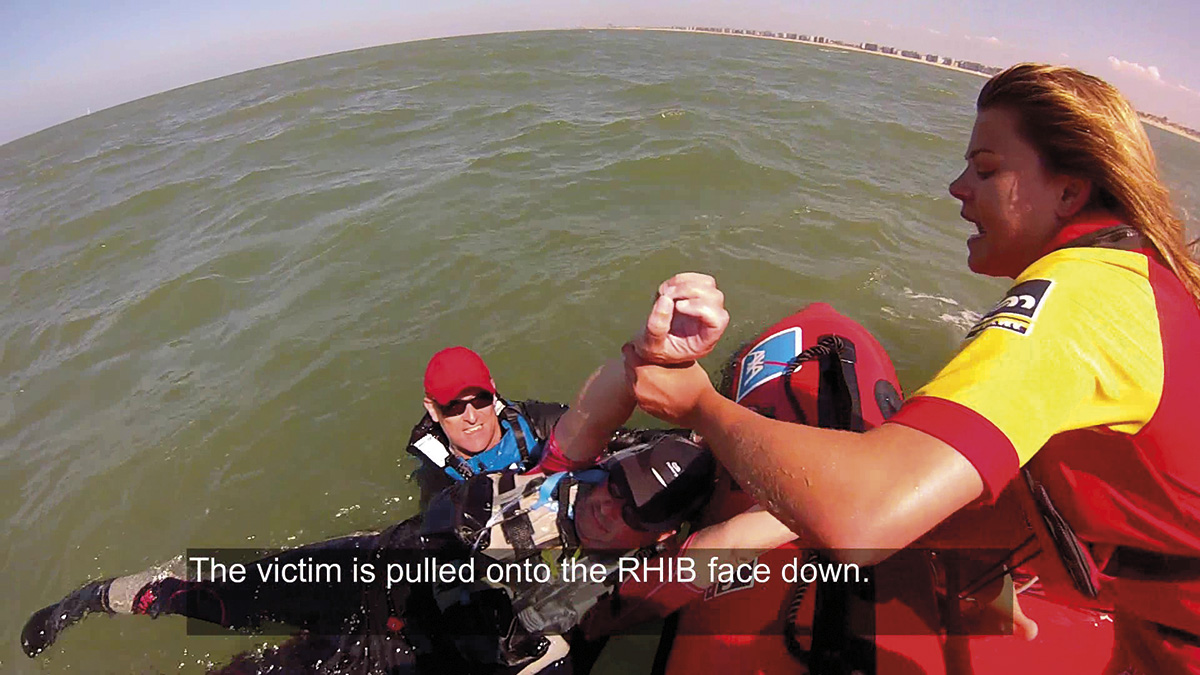
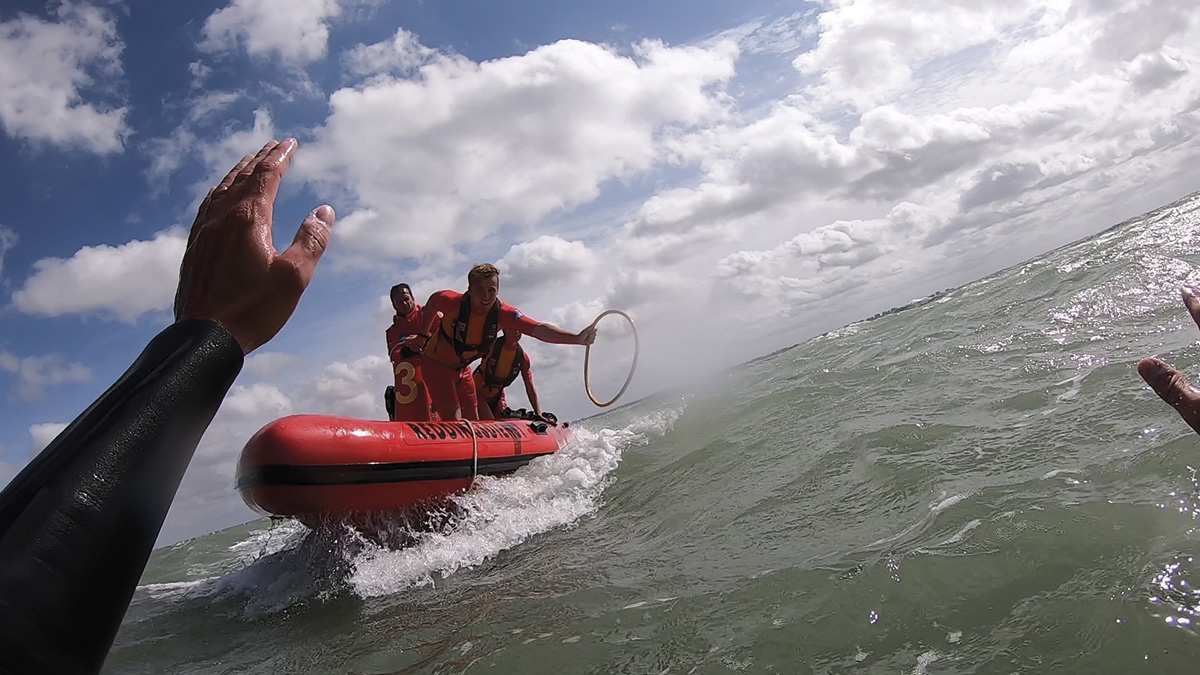
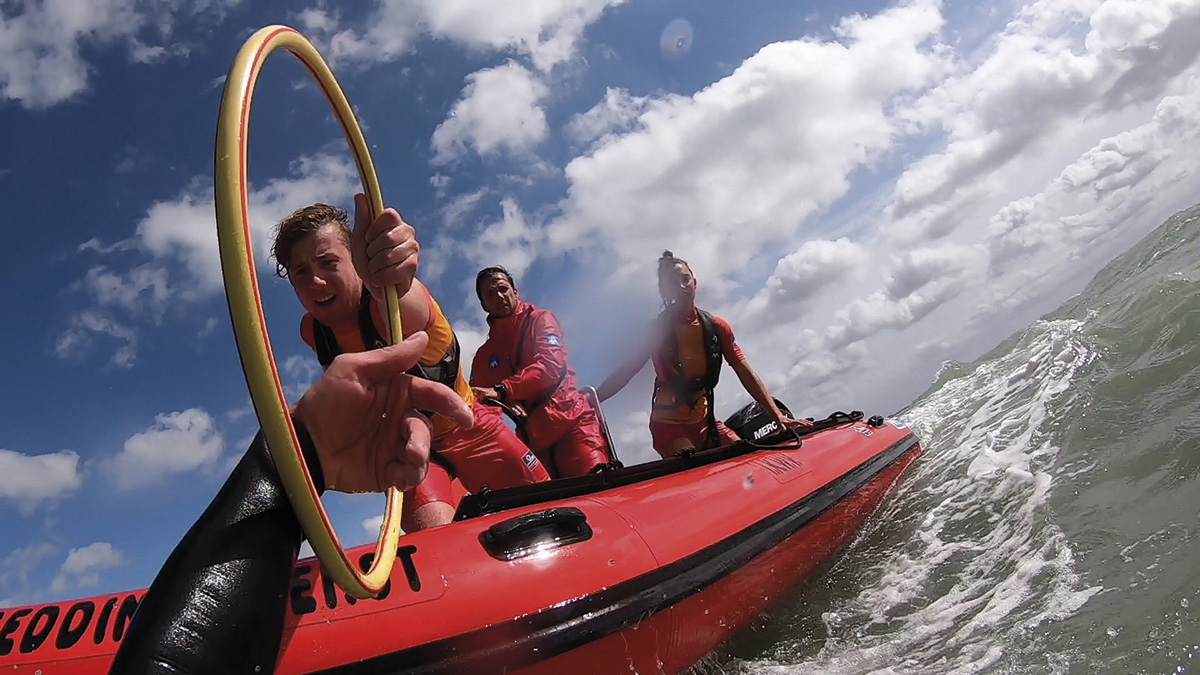
One is the chief lifesaver that also controls the RHIB, aided by a second lifesaver. They have limited equipment on board due to the nature of their task (coastal, near the beach). The crew follows orders from their chief, who stays on land. There is no radar onboard and no cabin for shelter. If the lifeboat crew needs to pick you up from the water, they will make use of a convenient rescue-sling (like a hula-hoop). It is straightforward to grab, and the same counts for getting you out of the water.
Something to be cautious about: a RHIB is affected by waves, which means the RHIB will go up and down quite a lot in heavy seas. The crews are trained for this and will only make their final approach if they are sure that it is safe. If not, a rescue swimmer will jump in the water to help you. Most likely, there will be more than just one RHIB dispatched to your position. In every single training session, the crew managed to salvage the kayak afterwards. In every single ‘loss-of-kayak’ scenario, the kayak drifted at least some hundreds of metres away from the casualty.
Top tip: these are professionals. Listen to their instructions and keep your communication loud, clear, and short when arriving at the scene. Do NOT approach the RHIB yourself. The propellor from the outboard motor is dangerous. The crew will safely approach you. Once onboard, make sure to tell the crew what happened, do a headcount, tell them about possible injuries and treatment that you may have started up before their arrival. Always keep an eye out for hypothermia. In all the exercises, every team member stayed warm and comfortable! Hence the importance of being dressed for immersion!
In an actual situation, the RHIB crew will bring you to the shore, where an ambulance will be waiting to bring the casualty to the hospital for treatment or a check-up. In the worst case, a rescue helicopter will pick the casualty from the RHIB before it reaches the shore, depending on circumstances.
We love to share our experience with as many other paddlers as possible. The more knowledge is passed on, the safer we all will go on the water. We have some more stories and top tips for you in the next episode of RESCUE TRAINING!


If you want to see how we conduct these exercises together with the Coastal Rescue Service, have a look at the videos below on the NORTHSEAKAYAK YouTube channel!
Sea kayak safety equipment https://youtu.be/8ooxwC6pu-I
Worst Case Scenario II https://youtu.be/T52e0iWOCy4
IKWV Lifeboat Rescue https://youtu.be/SPLoZ9oo1rE
The Personal Locator Beacon https://youtu.be/q3imQKETQsc
Have fun and take care of each other on the water!

Good report. Had need of all of the above on a recent Seakayaking trip off Inishark on the West coast of Ireland.
I enjoyed this article. Much to learn, even though I paddle in US. A detail on VHF radios – many now have a DSC (Digital Selective Calling) button which will send an SOS with your location coordinates thet the US Coast Guard will pick up and respond to, hopefully. My Standard Horizon HX780 has this. More information here, though written for power boats: https://boatbeat.org/fact-sheets/vhf-radio-with-digital-selective-calling-dsc/ For DSC to work it must be linked to a GPS device to provide location infrmation in the distress call.. My VHF radio has GPS functonality, so no extra connections are needed.