Part one of two
By Phil Miller
Owner of Black Snow Canoe Outfitters
Outfitting and trimming your new boat is one of the most important facets of paddling and yet most people know very little about it and it’s often overlooked.
About the Author
Phil Miller owns Black Snow Canoe Outfitters based in Staffordshire. Over the last few years they have perfected the creation of bespoke saddles to fit individual paddlers. Today they specialise in offering bespoke canoe outfitting and custom boat builds and are an official dealer and demo centre for Silverbirch canoes.
http://blacksnowcanoe
outfitters.co.uk

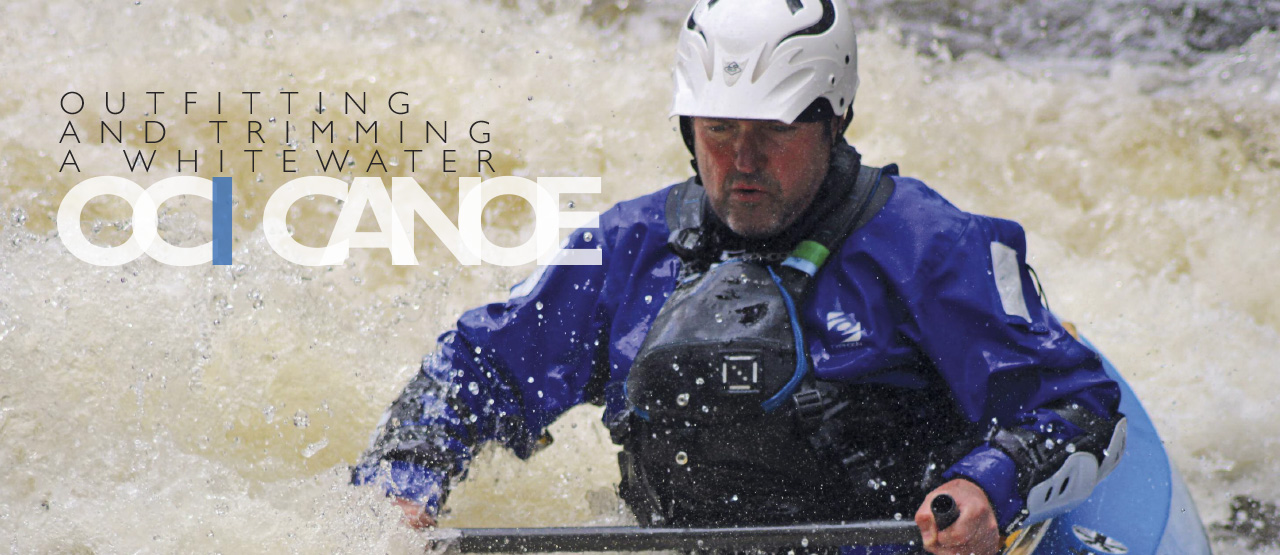
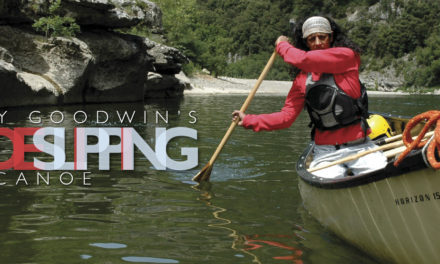
Outfitting and trimming a whitewater OC1 canoe
The detailed technical designs of modern OC1s mean that they are designed to sit on the water in a certain way, which may not follow old school principles. Most current saddled boats are asymmetrical in their hull design and so need setting up as per the manufacturers guidelines. We each will have our own paddling preferences but boats perform at their best when trimmed correctly, taking into account the paddler’s build, style, etc.
The purpose of this article is to share some of the key principles in outfitting and trimming your boat effectively. Outfitting refers to shaping the saddle to achieve good connection and fit (a balance between connection and safe exit). Trim refers to how the boat floats on the water; this alone can have a huge impact on how the boat performs.
The principles for outfitting and trim apply to all current OC1 designs, but we’ll focus here on the Silverbirch Rebel 11.3. The other models in the range use the same saddle and outfitting kit. These boats range from sub-9-foot to just over 11-foot with varying rocker profiles. The shorter the boat and more pronounced the rocker, the more trim sensitive the boat will be; small movements of the saddle fore and aft will make a larger difference. The 11-foot boat won’t be as trim sensitive because of its length, but making it overly bow light could cause the stern to drag, for example.
You may also need to make an allowance for your paddling style, especially for the shorter boats. Most whitewater boats are designed to be paddled up front, but your particular style should be taken into account – are you an aggressive, over-the-bow type of paddler or do you have a more relaxed neutral style?
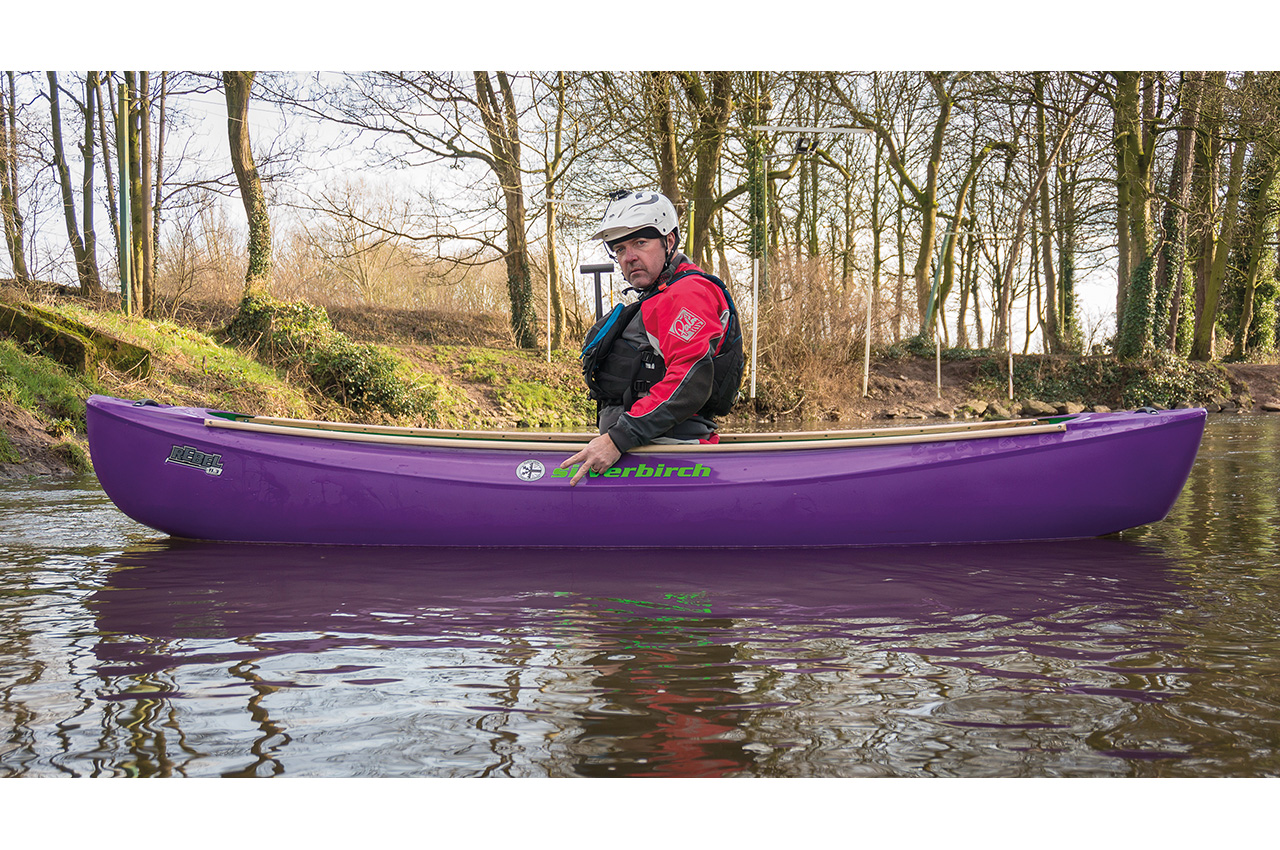
What we’ve learnt at Black Snow is to first outfit the boat, without gluing the saddle, then take the boat for a float test. The key to getting the right trim is in the detail – being able to see how you look in the boat on the water is a great way to prove whether you’ve got it right. This is your opportunity to experiment from a neutral position (in this case for the Rebel, as designed) and get a visual of the trim. Photos here give an idea of what good and bad trim looks like but there are also online blogs and videos to help, for your particular model.
Your new boat
Whichever Silverbirch model you buy, it will arrive fully laced, and complete with bulkhead saddle and sidewall kit plus some handy tools to help you outfit the boat, including a tin of glue.
You will need to fit the saddle and outfit the boat and this can be daunting if you’re not familiar with the basic principles or haven’t done it before. Boats are purposely sold without outfitting in place in order to accommodate paddlers of different shapes and sizes and to allow the paddler to make adjustments once they’ve got the boat home and on to the water.
Specialised retailers like Black Snow offer a full outfitting service, including a float test to ensure that your boat is fitted to you – this is great news if you don’t want the responsibility of doing it yourself. However, the sense of achievement in outfitting your own boat should not be underestimated; it’s part of owning one of these boats, and you may continue to tweak your outfitting as you become more experienced.
Whatever your shape and size, you will have a ‘centre of effort,’ which is your balance point in a kneeling position. What we’re trying to do is to get that centre of effort aligned correctly in the boat, which in turn gives you the required trim.
How to cut and shape the saddle
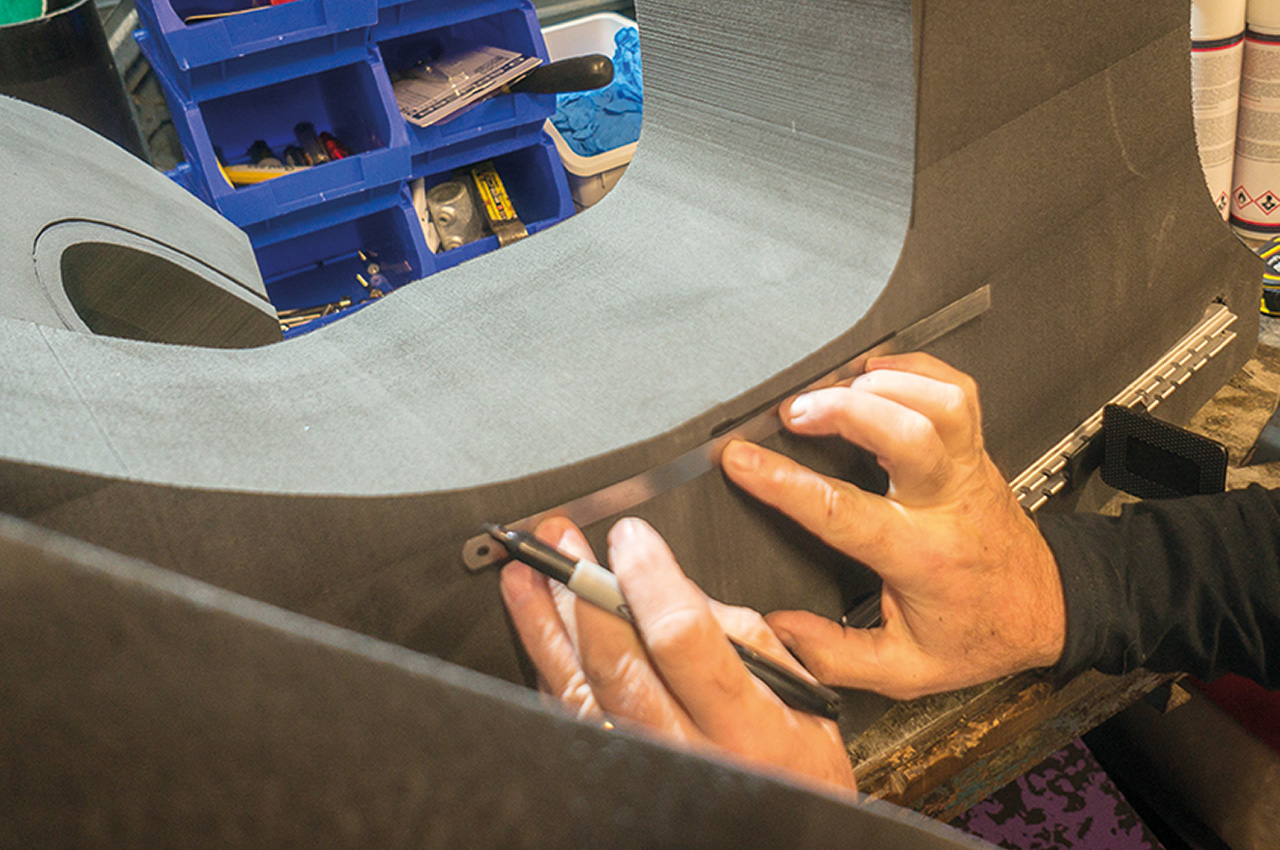
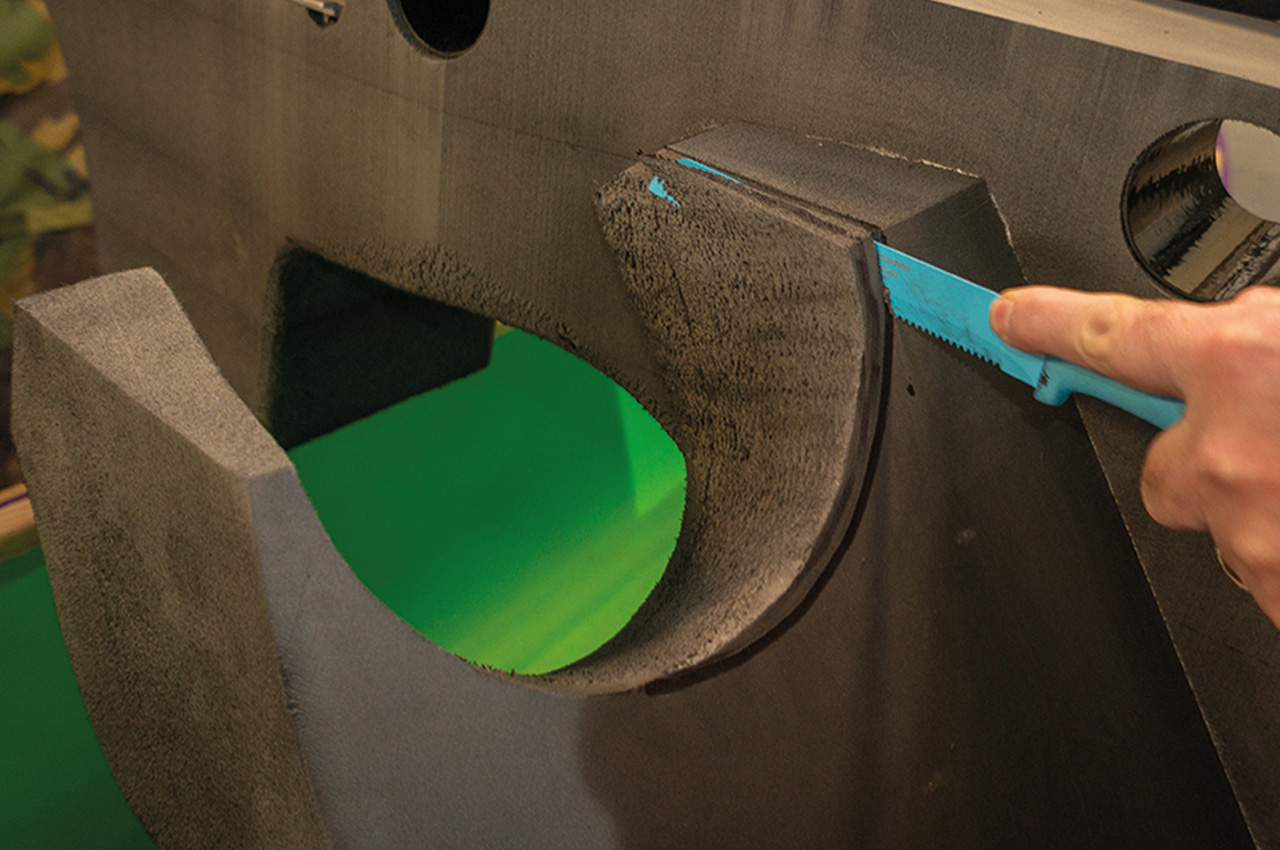
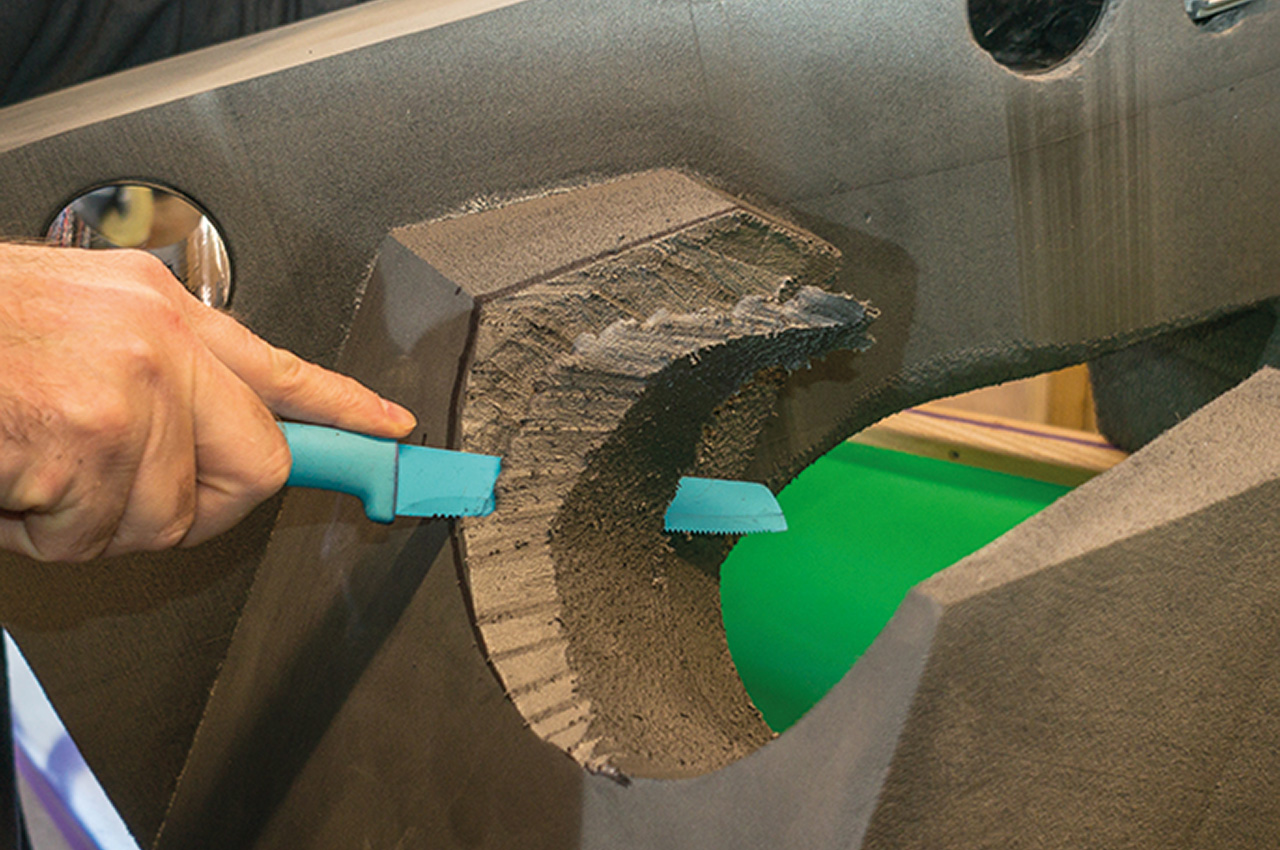
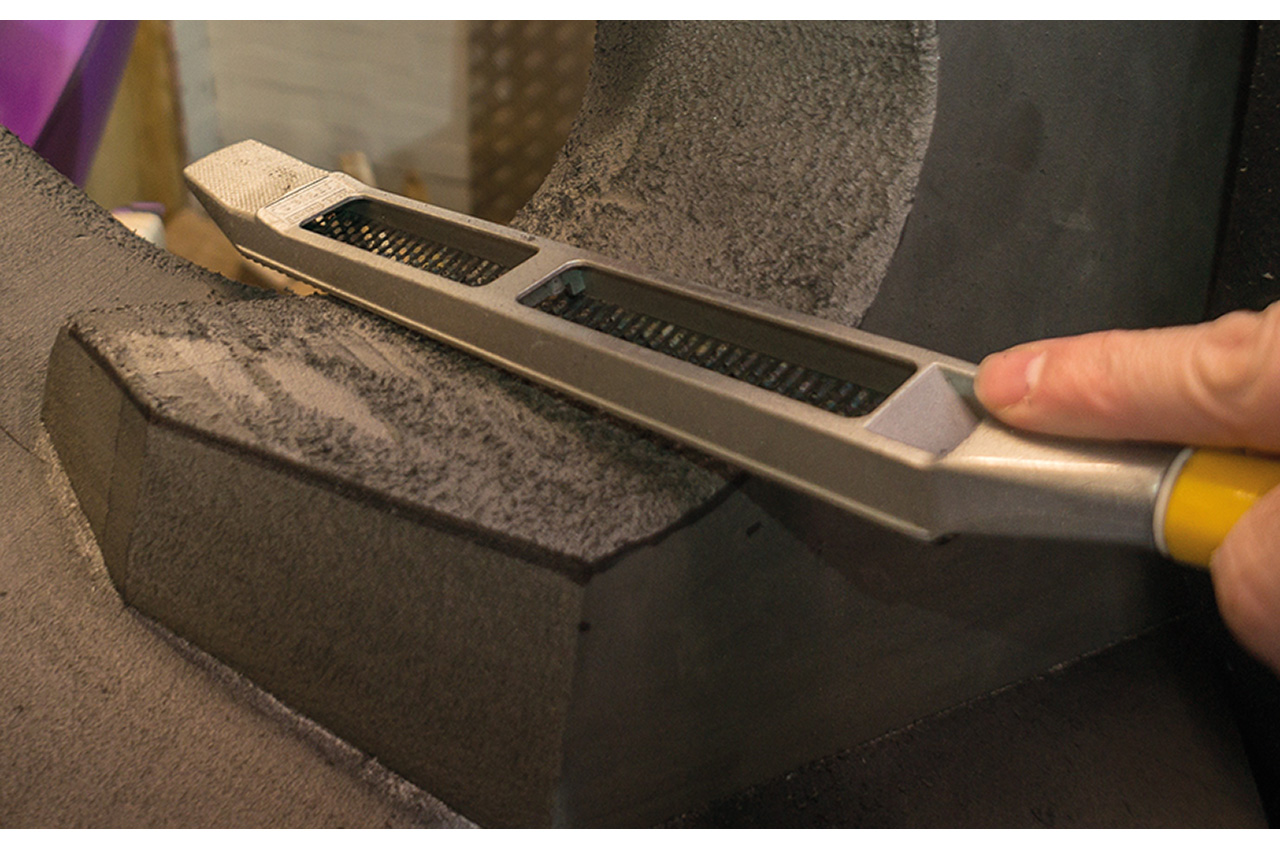
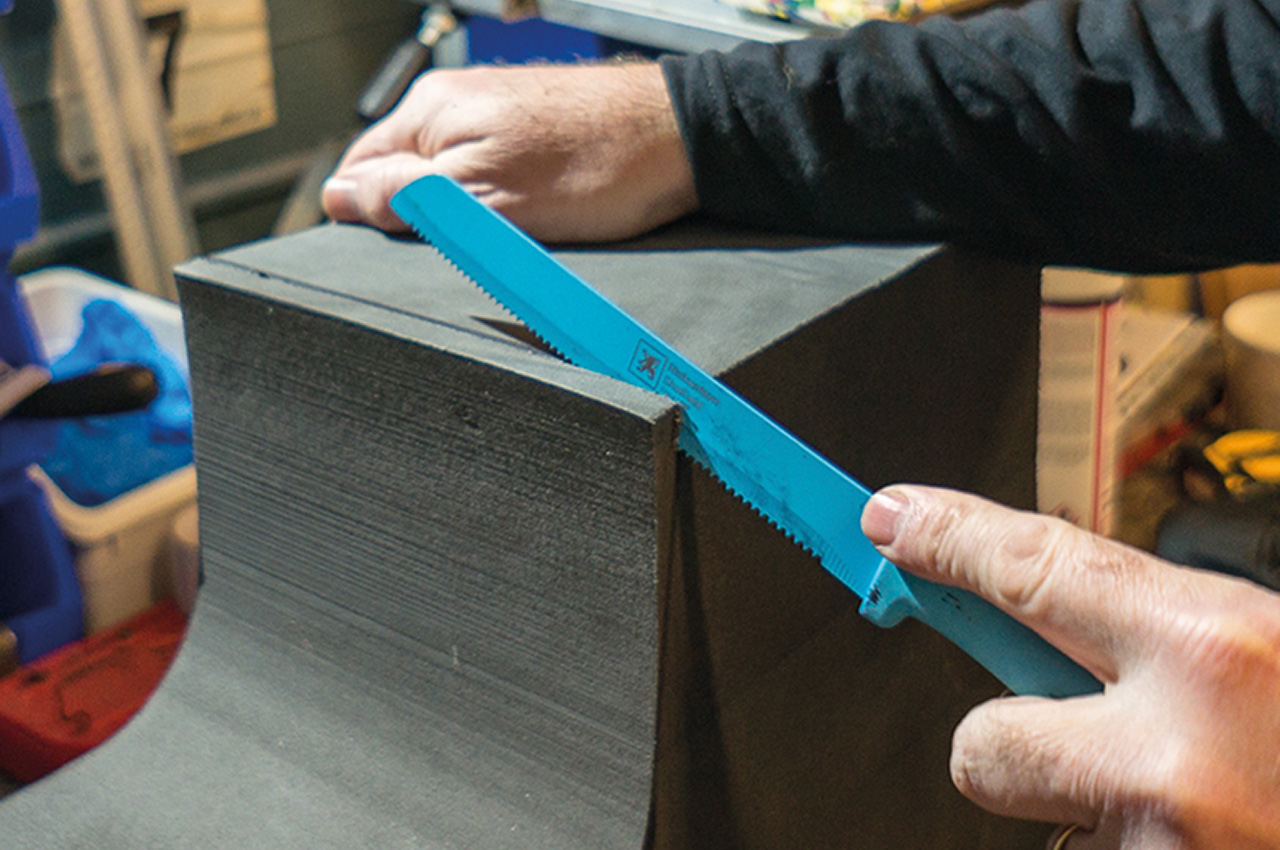
- Remove all thwarts and lacing from the boat. This allows the boat to flex open so that the saddle can be removed. You will need a knife with a serrated edge, such as a bread knife, which makes an effective tool for cutting foam.
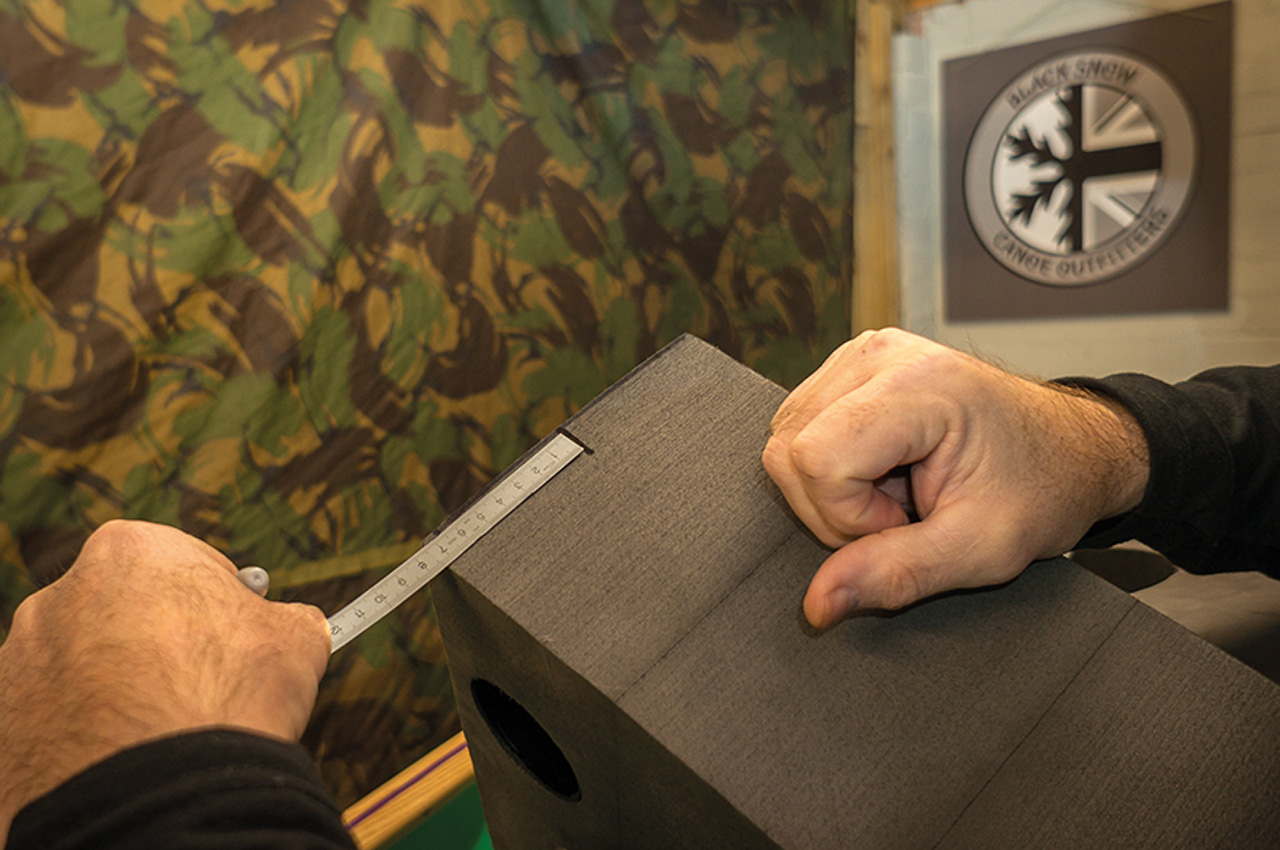
- The best way to cut and shape foam is to mark your cut lines with a marker pen and ruler. There is a huge risk of making mistakes in working by eye. Start with small cuts; you can always take off more later.
- Larger paddlers may need to cut the backrest first in order to give them room to work on the hooks (see below).
- The height of the saddle. Before you start cutting, the key decision is what height to set your saddle at. Supplied saddles are approx. 10 inches high. Seat height for most people will be 8-9 inches but may range from 7-10 inches, dependent on paddlers preference. Your comfort is very important but height is generally determined by the size of the paddler.
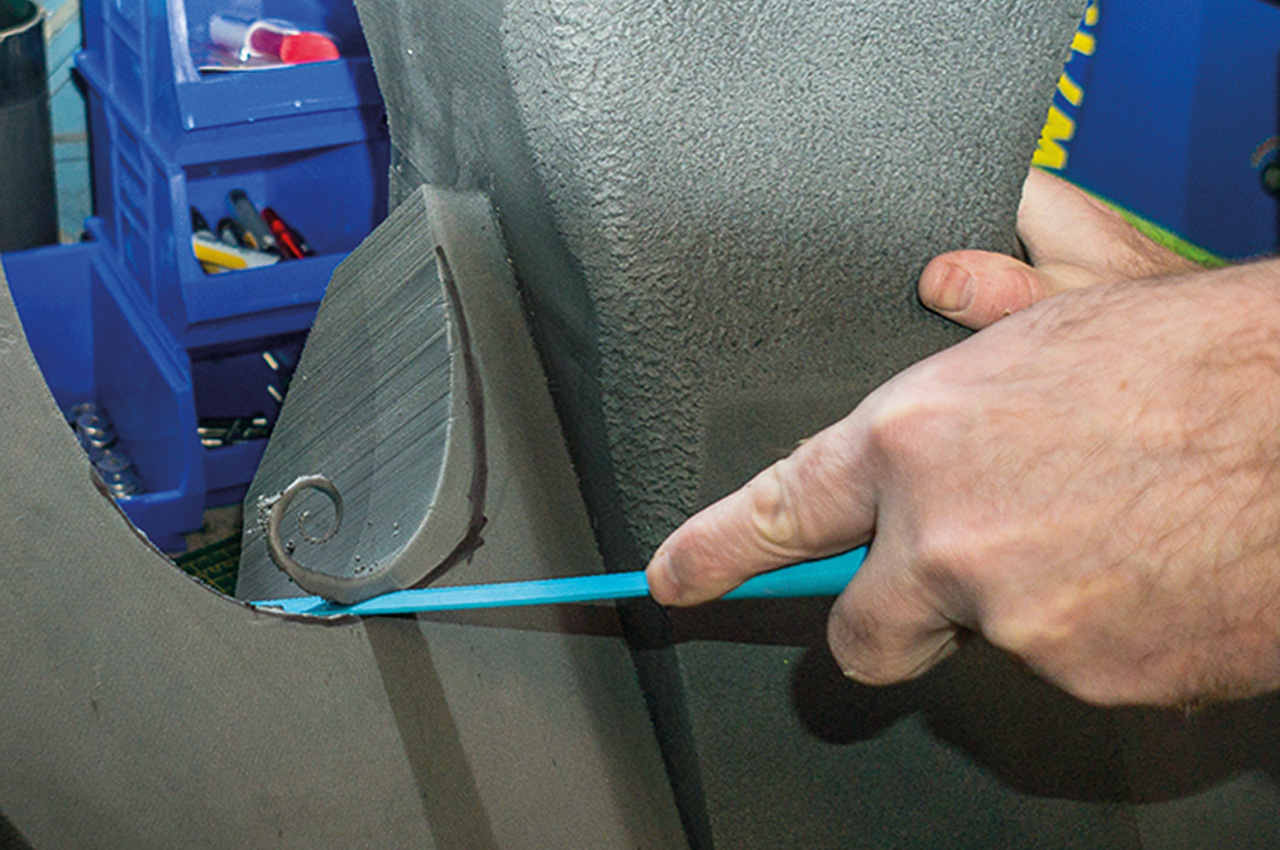
- Mark the cut line following the contours of the saddle. Cut to the waste side of the line initially and the final shaping can be done using the Surform tool supplied. This applies to cuts for the hooks, backrest, etc. too.
- Cutting the hooks. You’re aiming for two things; to get your seat bones sitting on the saddle, and to get your legs splayed so that your knees locate in to the chines of the boat, on the knee pads. This creates a stable triangle to give you better control and stability.
- The saddle comes with a shim; tear it out if it needs removing or glue it in if it needs to stay. Slowly cut your way in to the hooks marking pinch points with a marker pen; make small cuts and remove little and often. Keep jumping back into the saddle and test the fit. It will soon start to take shape, so that you can refine the fit using the Surform. Take your time.
MAKING THE CUTS
- Cutting the backrest. A larger/taller paddler is likely to need to take off a vertical slice of the backrest but a smaller/shorter person may not need to take off any. Phil is 6-foot tall, and does not take anything off the backrest, except for creating a slope of 10-15 degrees; a personal preference. This leaves a saddle where he can dig deeper into the hooks.
- The biggest mistake that people make is in cutting too much off the backrest. What this does is move you too far back in the boat, which makes it harder to get the saddle to fall correctly under the thwarts to achieve correct trim.
- Use a ruler and mark the straight cut lines and blend your cut lines into the contours of the saddle. As above, cut above the waste line and refine using the Surform tool.
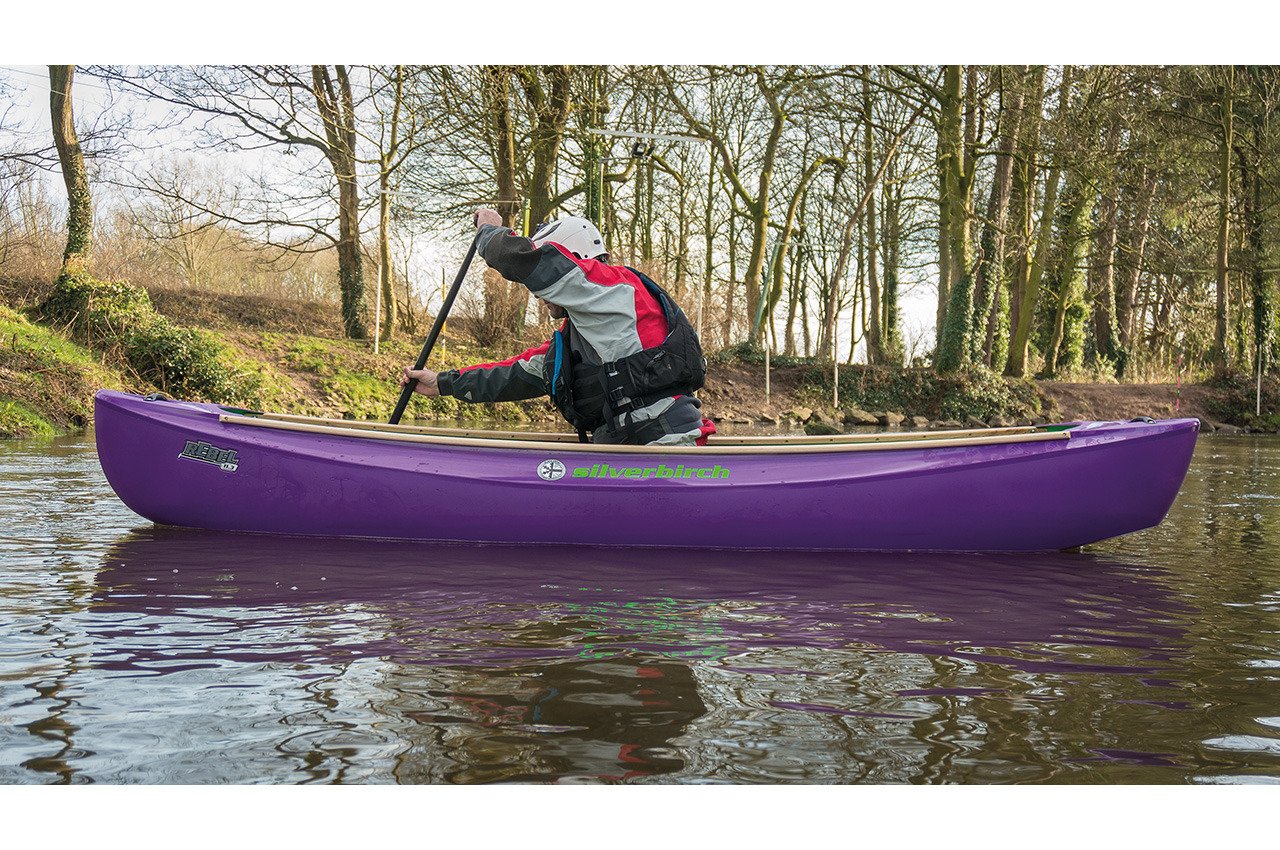
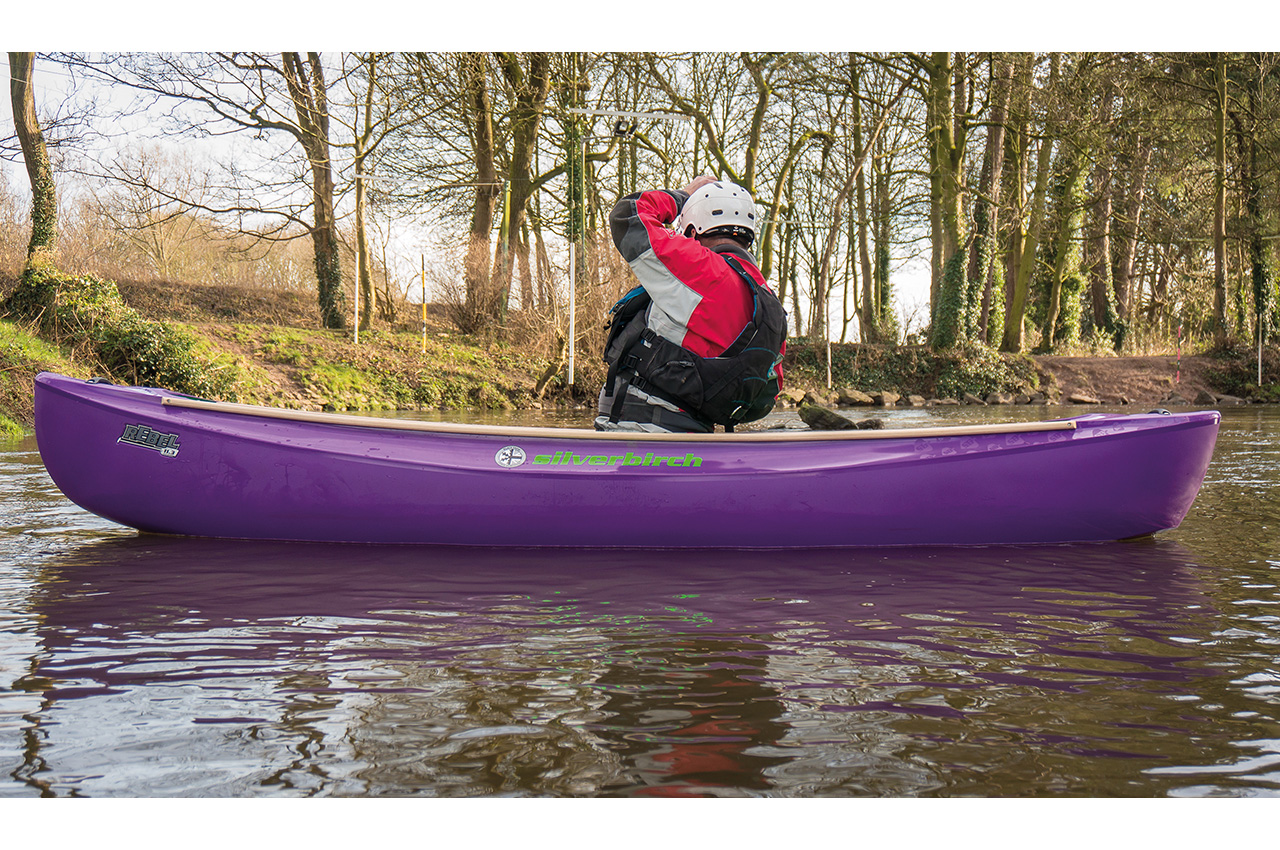
Float test
- Put the saddle and thwarts back in and arrange to take the boat to a nearby river or lake, for a float test. Ideally, take a friend and a camera; you will need to take a series of photos as you try different positions.
- Before you go, set the saddle up under the thwarts.
- Float the boat; move the saddle fore and aft to find the neutral trim. Then draw a line on the hull to mark the front of the saddle. This is your start point. Mark a couple of alternative positions either side of that mark (say an inch or two either side) and paddle the boat to see what suits you best. Experiment!
- Take photos of you in the boat, with the saddle in each position marked, so that you can see how each position affects the trim. Take photos of you in your catch position as well.
- The tip is to number each marked position and note which photo relates to which position so that you can marry the photos up when you get home, see top left photo.
Gluing the saddle
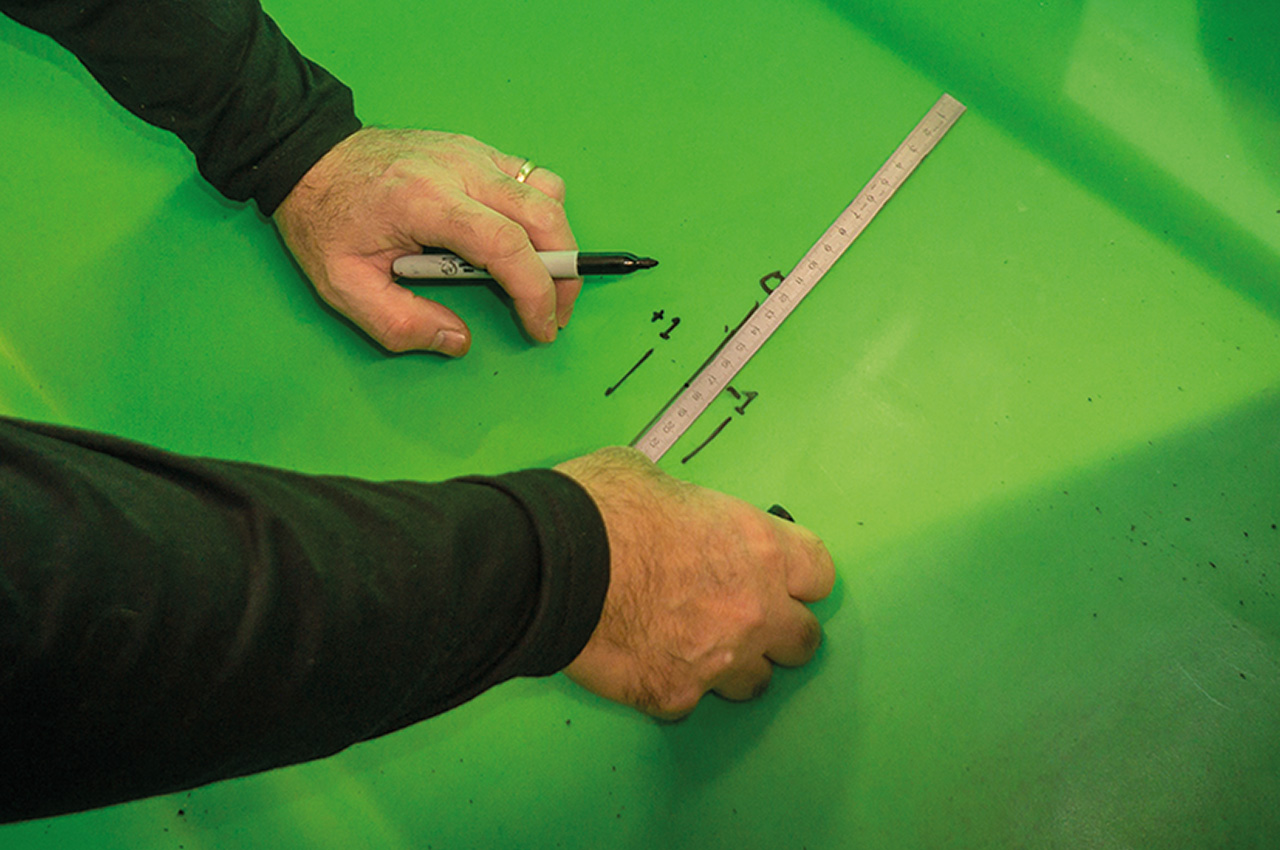
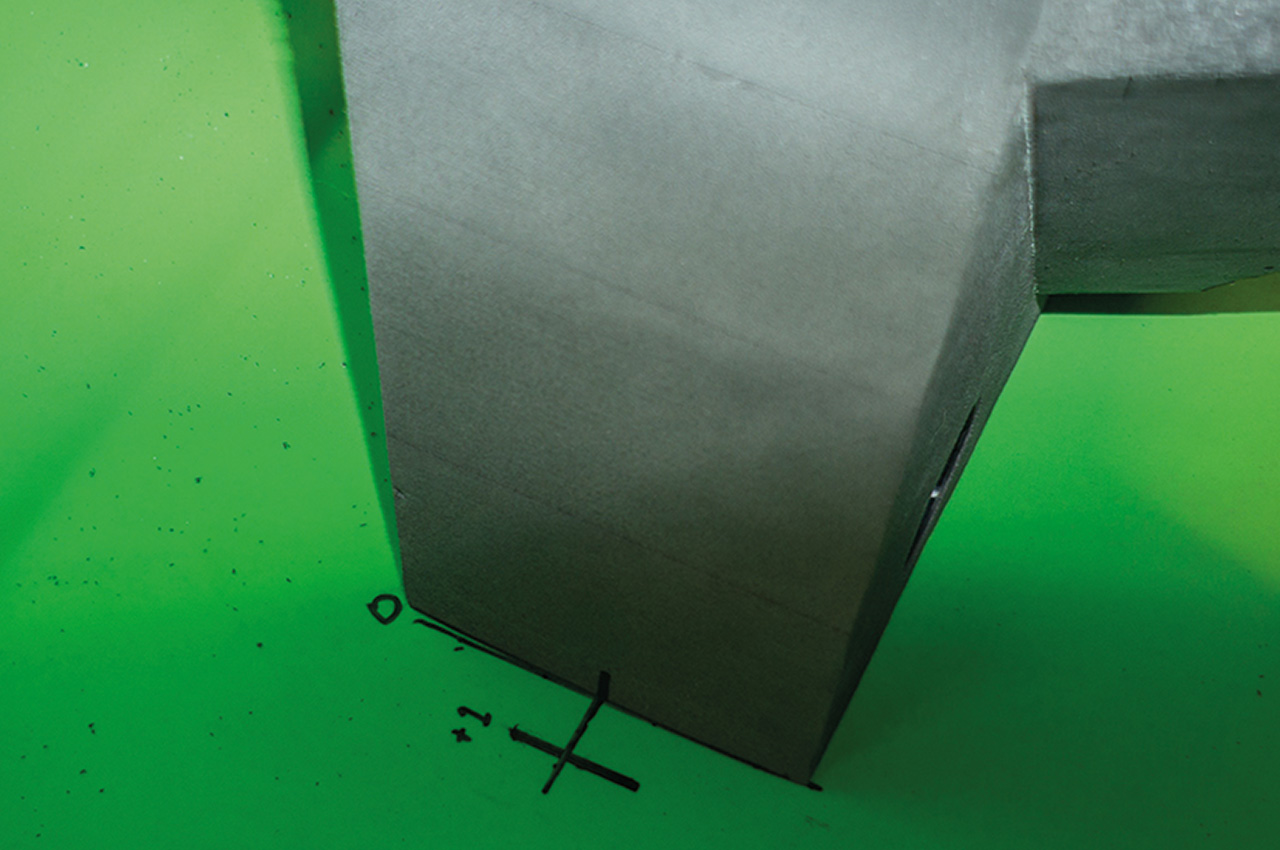
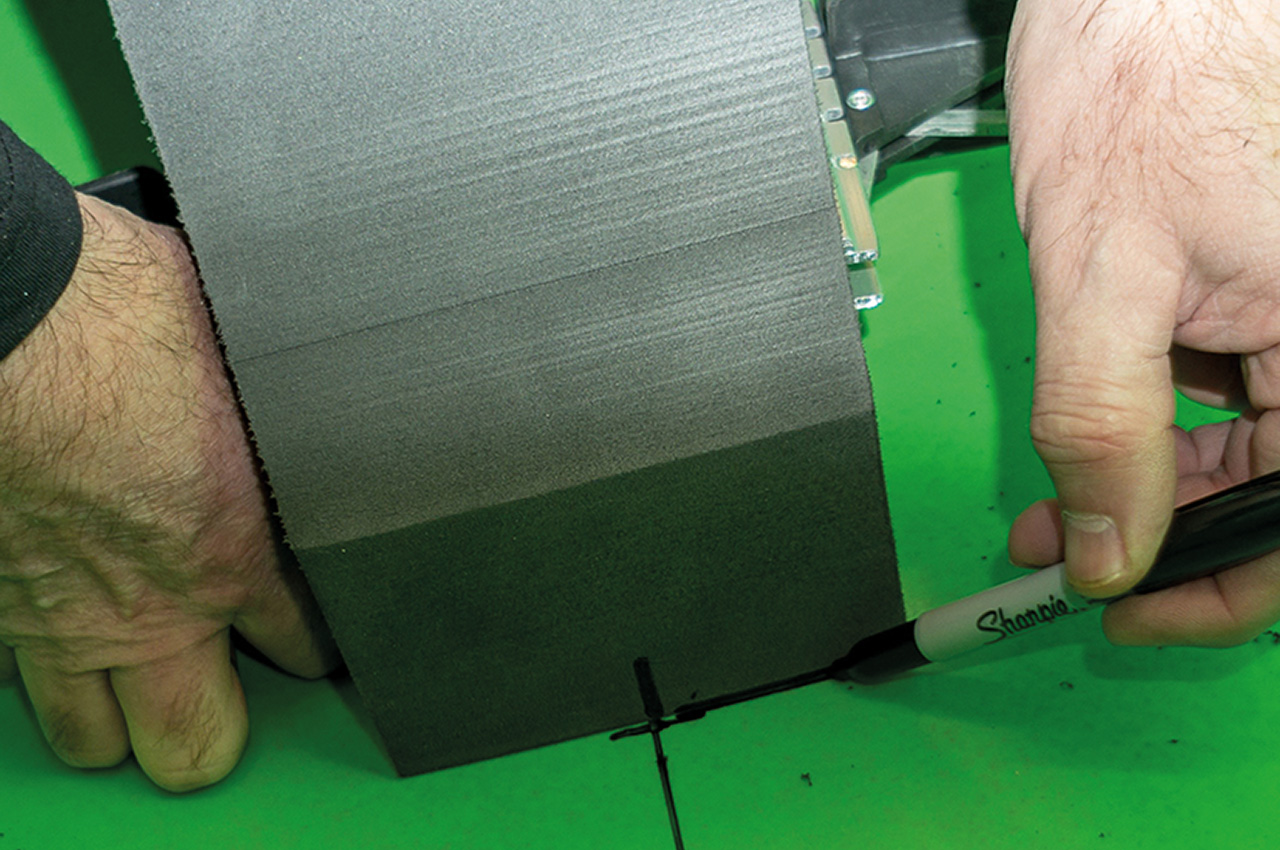
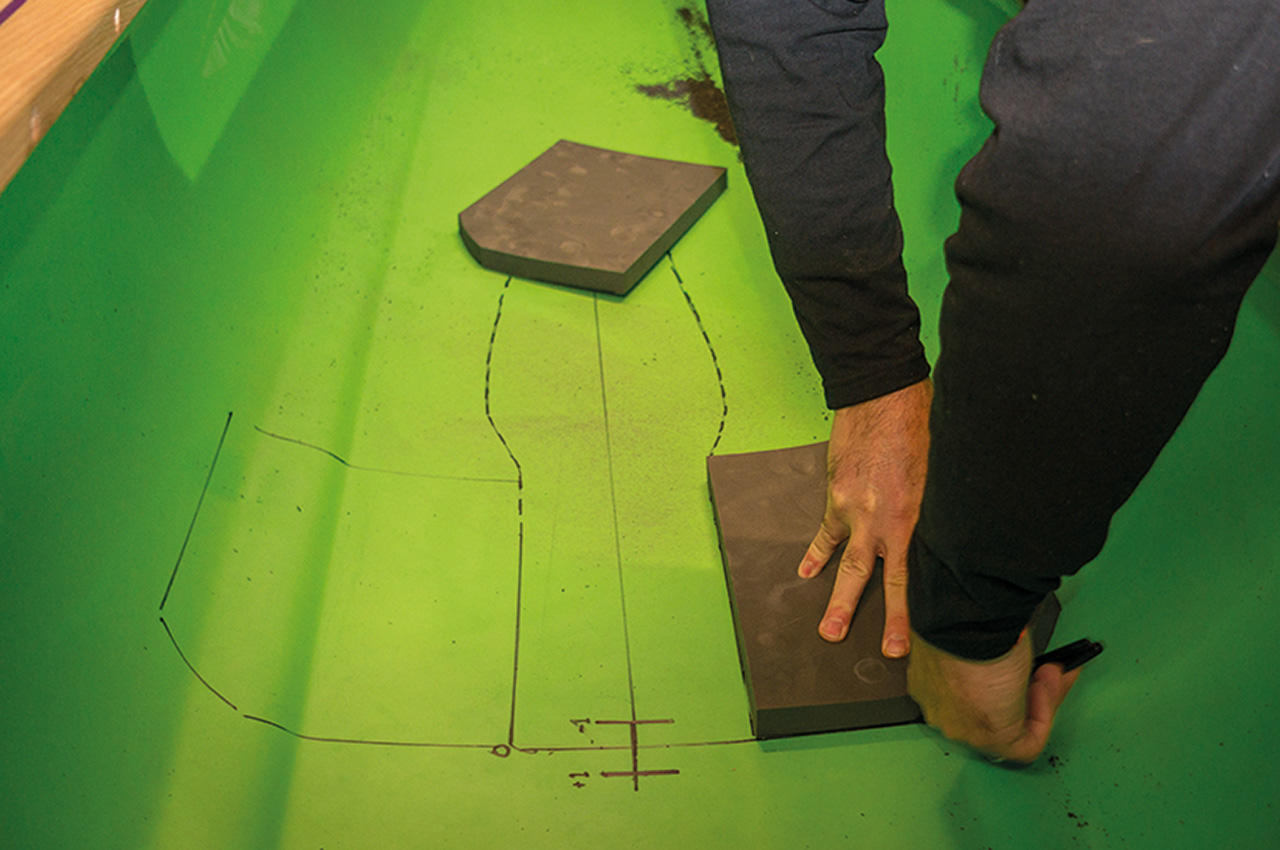
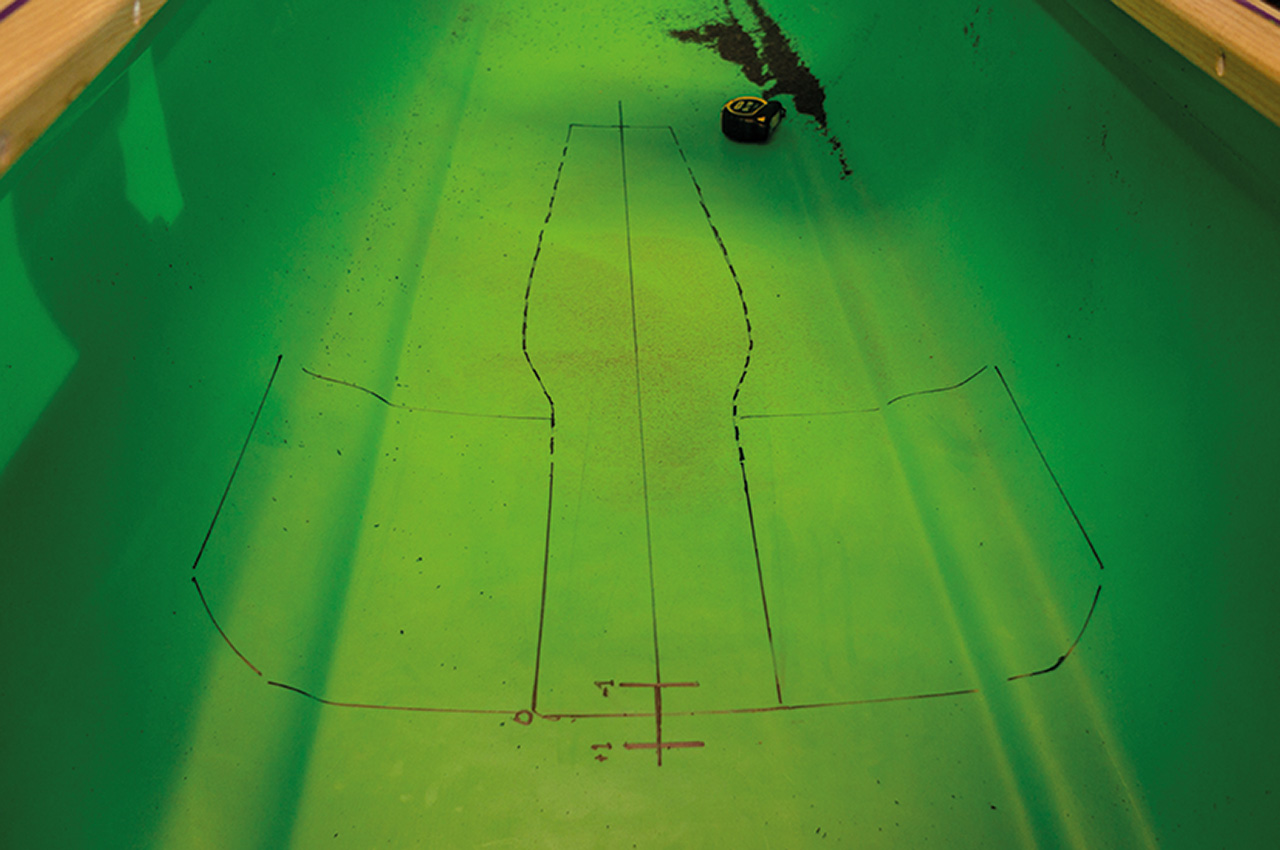
- At the bottom of the saddle spine where it touches the hull, find the centre point and make a small mark to show the centre line, on the saddle front and rear.
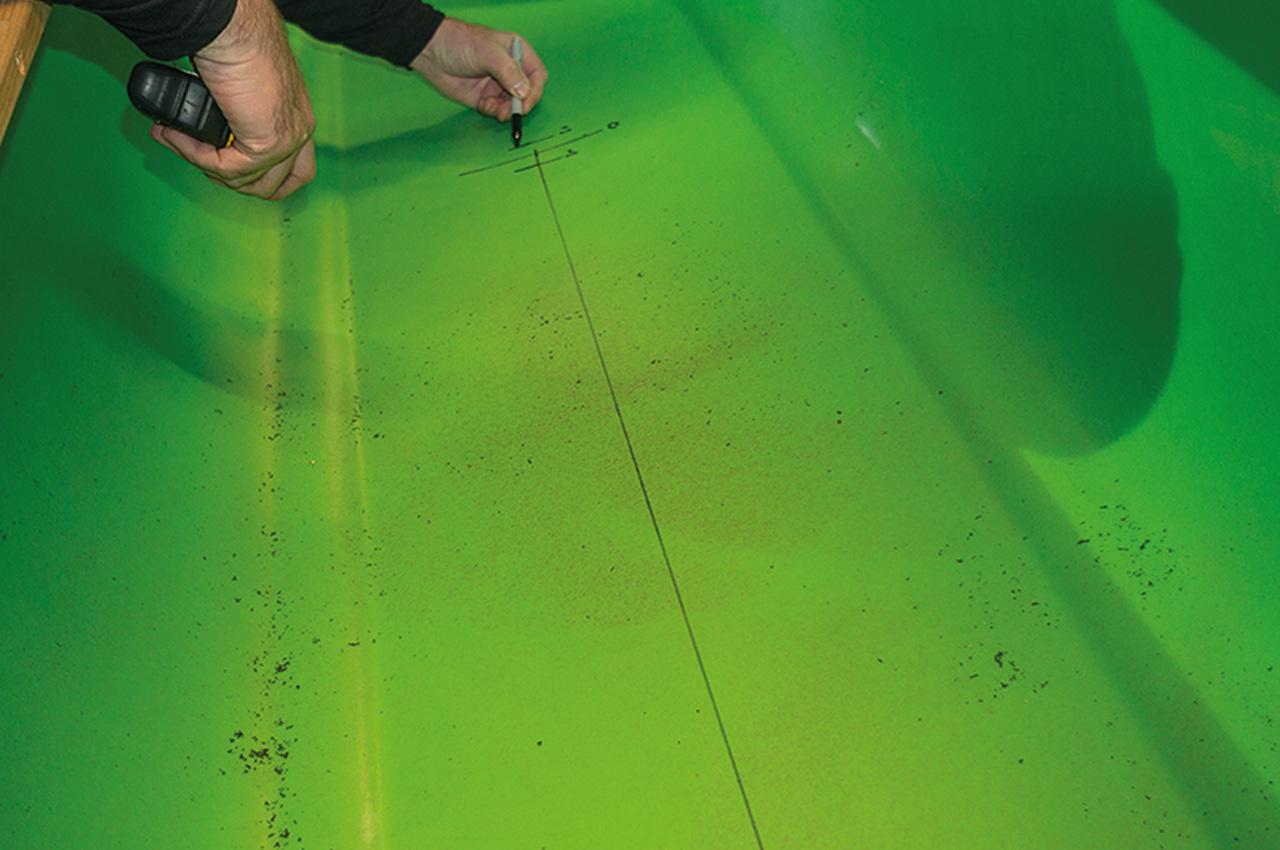
- From the chines find the centre point of the hull, and mark it, roughly where the front and rear of the saddle will fall and draw a centre line, slightly longer than the saddle.
- Position the saddle over the centre line, aligning the centre marks at both ends of the saddle to it. Mark the footprint of the saddle on the hull.
- Remove the saddle; repeat the process with the kneepads.
- You can mask off outside the marks if you’re worried about overspray but most glues spray accurately. Apply two thins coats of glue to both the hull and saddle, allowing each to gas off/touch dry before bonding the saddle (and then knee pads) into position. Butt knee pads inner edges up against the saddle. Always follow manufacturers instructions relating to glue; most glues are hazardous and flammable and need well ventilated space.
Disclaimer
Ensure that you have successfully practised a dry and wet exit from the boat with a newly fitted saddle before using it on moving water. The saddle should be a comfortable fit with good connection but in no way impair exit from the boat.
Further References
Further detailed information on outfitting your boat is available at the Black Snow website: www.blacksnowcanoeoutfitters.co.uk, and Facebook page www.facebook.com/blacksnowcanoeoutfitters/
Part 2 to follow (next edition);
airbags, lacing, sidewalls
